A Mount Rainier day trip from Seattle is one of my favorite ways to explore Washington state. I’ll never forget how my jaw dropped the first time I saw its looming peak driving from the airport. Even to this day, almost 15 years later, I still do a double take or comment when it’s visible.
This is my reaction seeing Mt. Rainier from 2-3 hours away, so imagine what it’s like when you’re right there. There are seemingly endless viewpoints for taking in its magnificence, and hundreds of trails for exploring the wildlife that surrounds it.
So if you’ve never been or are in need of a revisit, you’re in for a treat. Here is my favorite way to spend a day at Mt. Rainier, broken down in a step-by-step itinerary starting and ending in Seattle.
This post has affiliate links, which means I may earn a small commission at no cost to you if you click on them and make a purchase. This is a small way I earn money to support this site. If links aren’t showing up for you, turn off your ad blocking software. Thank you for your support!
The Ultimate Mount Rainier Day Trip from Seattle
Want to skip the planning? Let me plan you a custom trip to Mt. Rainier with an itinerary that matches your preferences and skill level exactly. I can even make it a multi-day trip if you’d like!
About Mount Rainier National Park
Designated in 1899, Mt. Rainier National Park is the United States 5th national park. However, evidence of human activity in the park dates between 2,000 and 3,000 BC. The area was inhabited by the Nisqually, Puyallup, Squaxin Island, Muckleshoot, Yakama, and Cowlitz tribes before Europeans “discovered” it. In fact, it’s known as “Tacoma” or Takhoma to Indigenous peoples, which translates to “she who gives us the waters” or “the mountain that was god”.
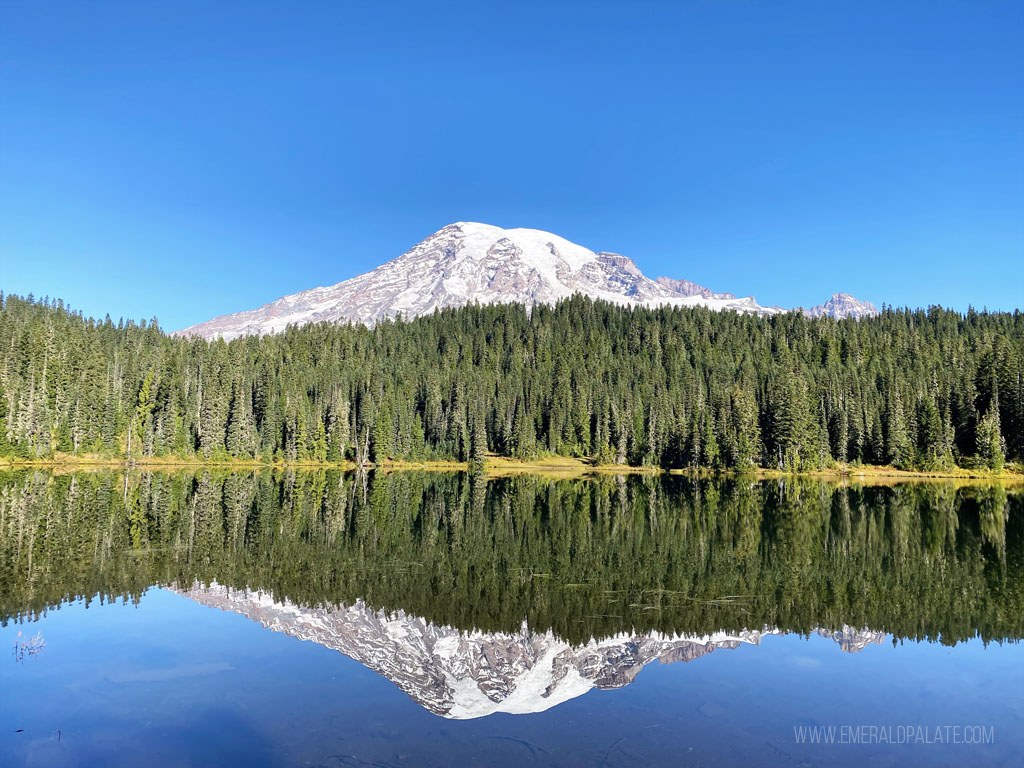
The national park as we know it today protects more than 240,000 acres of forest, with the centerpiece volcano standing at 14,411 feet above sea level. It’s the 5th tallest peak in the contiguous United States and has the most glaciers on it’s peak out of all the lower 48 states.
Yup, a volcano with snow.
In fact, it experiences about 20 small earthquakes a year and has the second most seismic activity in the North Cascade Range behind Mt. St. Helens.
We’re so lucky to be able to see Mt. Rainier on a sunny day from most areas in the Pacific Northwest. Particularly in Seattle we have the Cascade Mountains to the east and the Olympic National Park mountain range to the west, but it’s Mt. Rainier to the south that is impossible to ignore. This makes it one of the best scenic day trips from Seattle.
How the park is organized
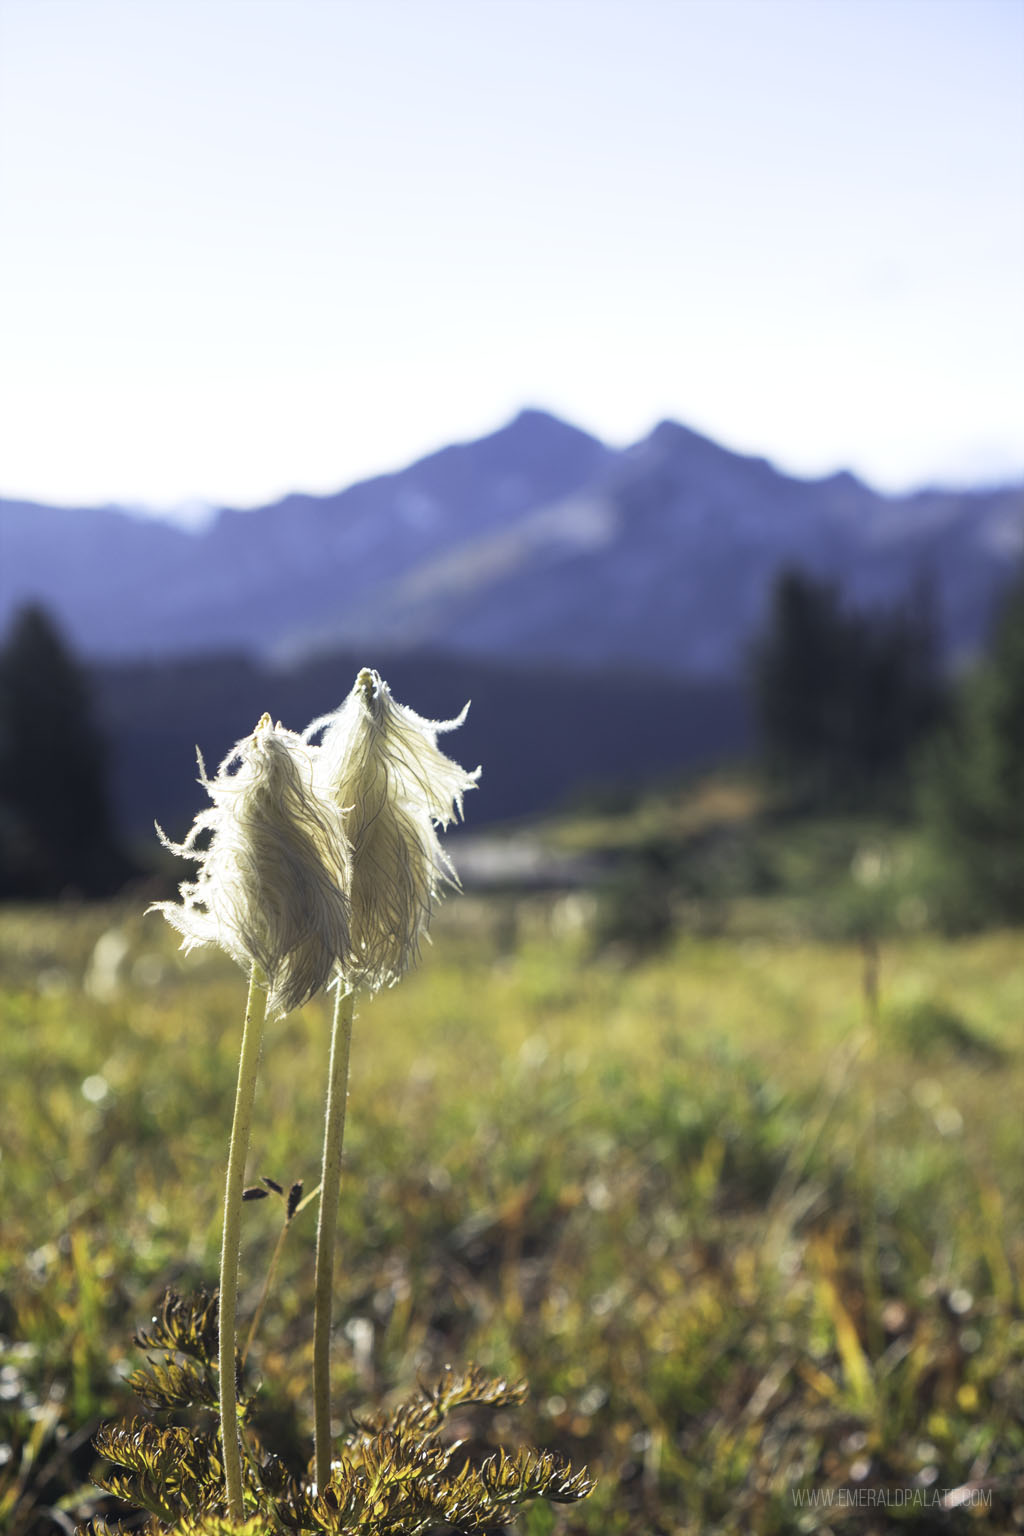
To give you a sense of place before you embark on your Mt. Rainier day trip, let’s talk about how the park is organized. There are 5 main sections: Longmire, Paradise, Ohanapecosh, Sunrise, and Carbon River/Mowich. Check out this park map for a visual of were these areas are in relation to each other.
The Carbon River entrance is closed until further notice due to bridge issues. Check the road status for updates.
The Nisqually entrance to the southwest of the park is the most popular given its year round access, and the Longmire and Paradise areas are the first sections you’ll hit once you pass that entrance. It’s the most conveniently located from Seattle for day trips, clocking in at about a 2.5 hour drive.
This is where you’ll start your Mt. Rainier day trip.
IMPORTANT: Reservations are now required if you’re visiting May through September! The National Park Service initiated a reservation system for the Paradise and Sunrise areas. You will now need a reservation in addition to a park pass to visit!
Itinerary for a Mount Rainier day trip from Seattle
If I only have one day in Mount Rainier, I’d spend it by fitting in hikes near both the Paradise and Sunrise visitor centers. This will allow you to explore both sides of the glacier and get different landscape views.
Sunrise is only accessible from about June/July through October, so this itinerary assumes you’re traveling within that time frame.
5:00 AM: Leave Seattle
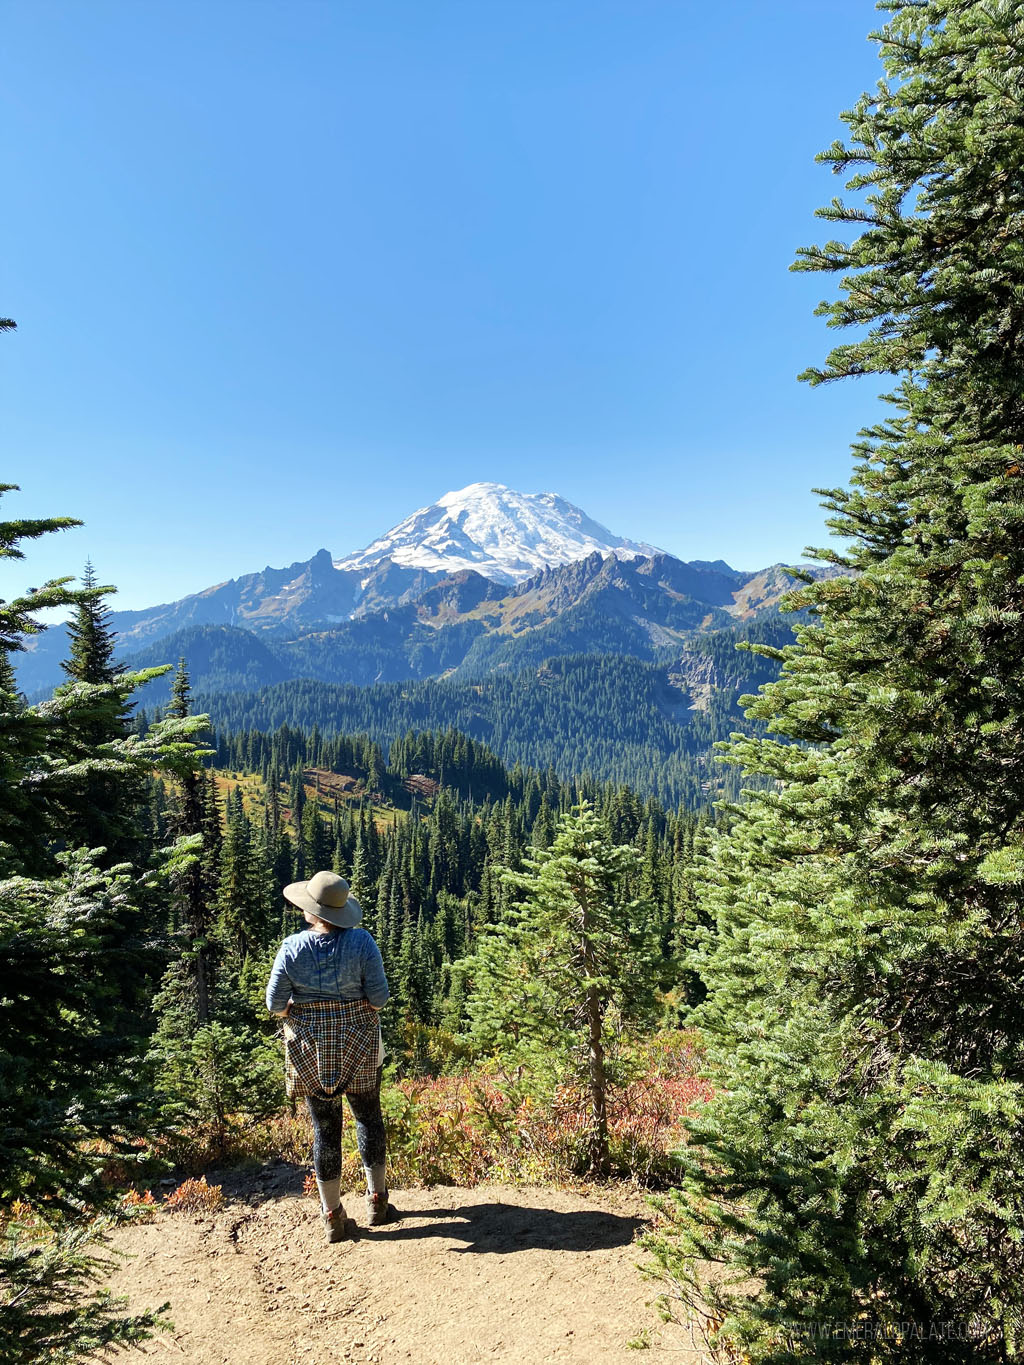
Rise and shine. If you want to do a Mount Rainier day trip from Seattle, you’re going to have to get up early to make the most of your day. I recommend getting up at 4 AM so you’re out of the door by 5 AM.
It will take you approximately 2.5 hours without traffic from downtown Seattle to the Paradise Jackson Visitors Center, your first destination. To avoid the crowds and get a parking spot, you want to be there before 8 AM.
Pro tips: To make sure you leave on time:
- Pack all your food the night before so you can just grab it.
- Put everything you’re bringing by the door.
- Pick out your outfit the night before.
- Grind the coffee the night before so it’s ready to make.
- Set multiple alarms and put your phone out of reach.
7:30 AM: Stop at Christine Falls
website | directions | only a few stairs to viewpoint
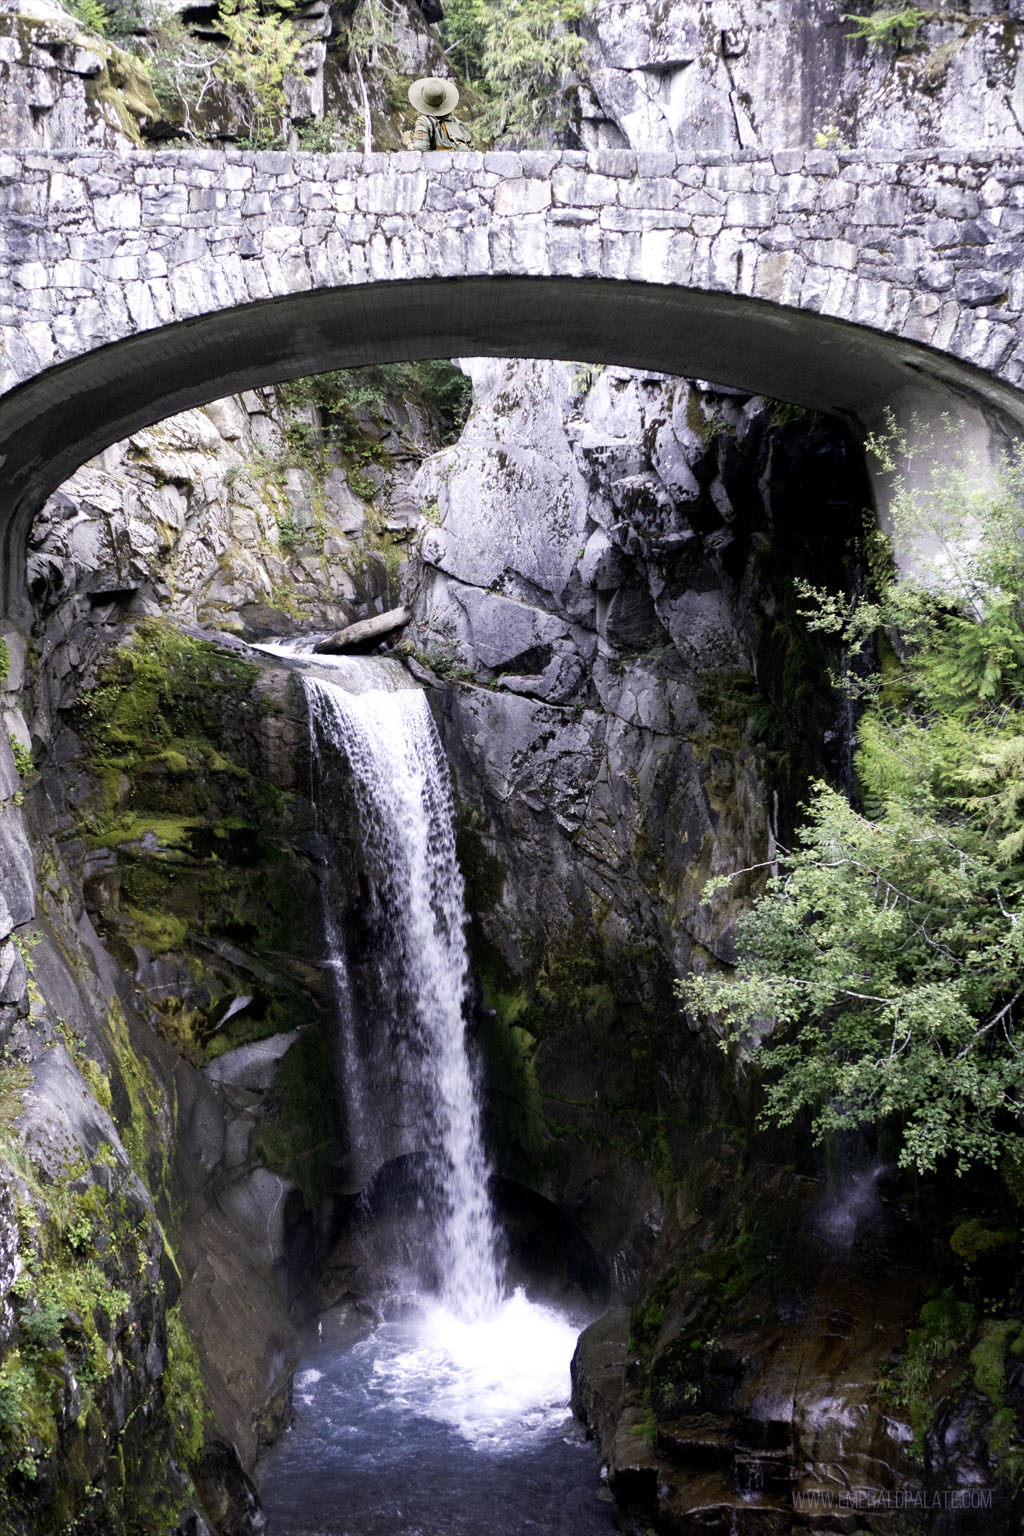
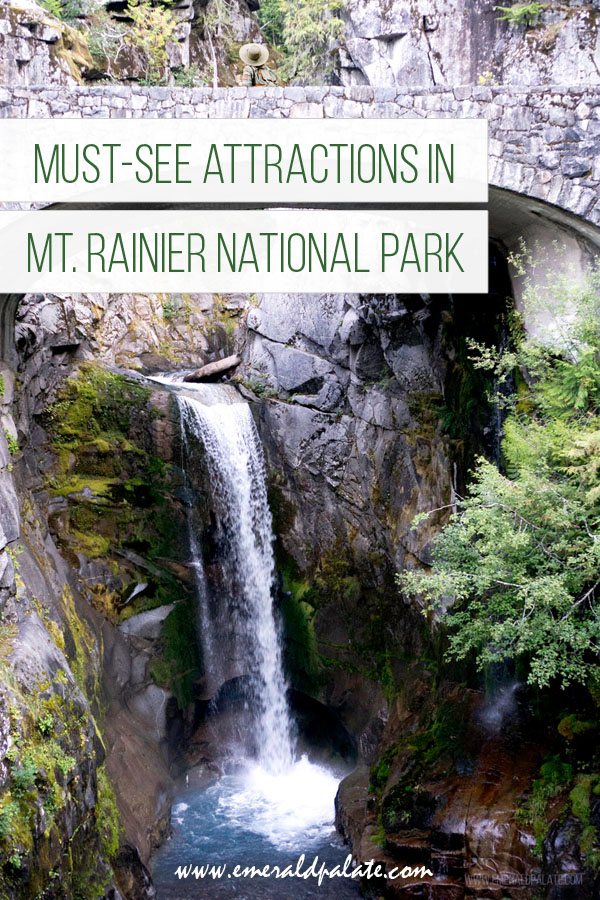
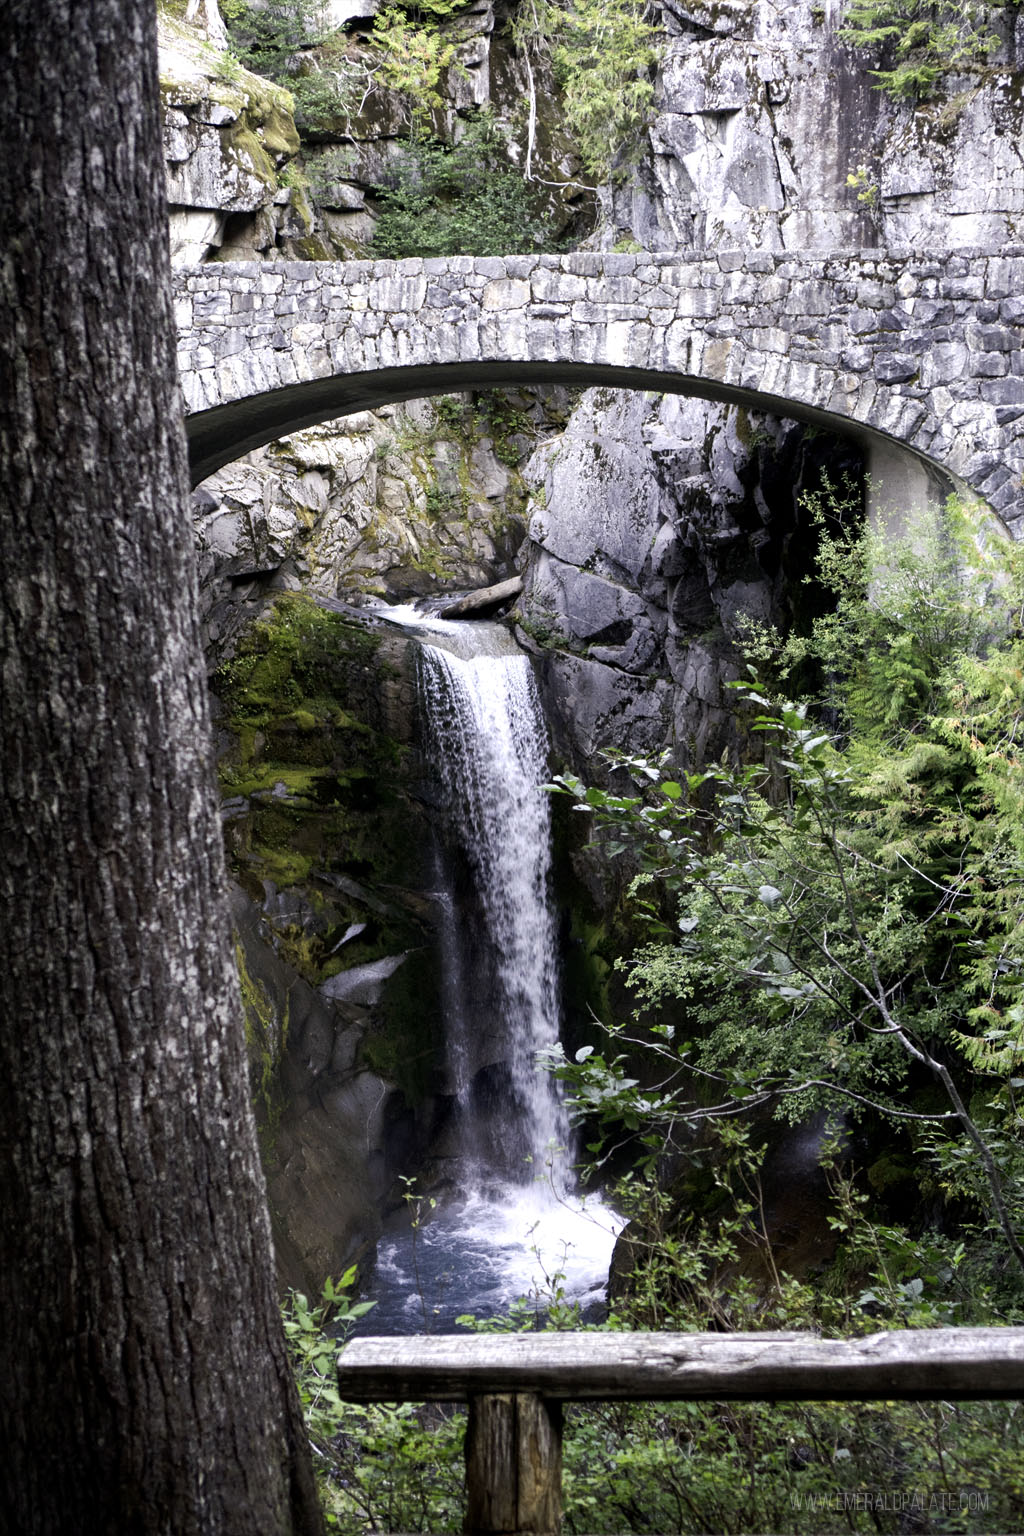
Your first destination is Christine Falls. This is a great place to start because it’s only a viewpoint with a small parking lot, so it gets crowded once more visitors start arriving. When we arrived at 7:30 AM, there wasn’t a soul in sight.
Christine Falls has a 69-foot drop. It offers beautiful photos from the viewpoint because there’s a historic bridge arching over the falls. This bridge cuts the true height of these falls in half, so you’re only seeing roughly half of its grandeur. Still, it’s quite beautiful!
There rest of the upper falls is usually hidden by trees. If the leaves are starting to drop, you may see a second bridge in the distance. You’d be able to get a better vantage point of the upper falls from there, but it requires hiking a bit along the trail to Comet Falls. You won’t have time for that during this trip, but consider it next time!
7:45 AM: Visit Narada Falls
website | directions | 0.2 mile walk to viewpoint
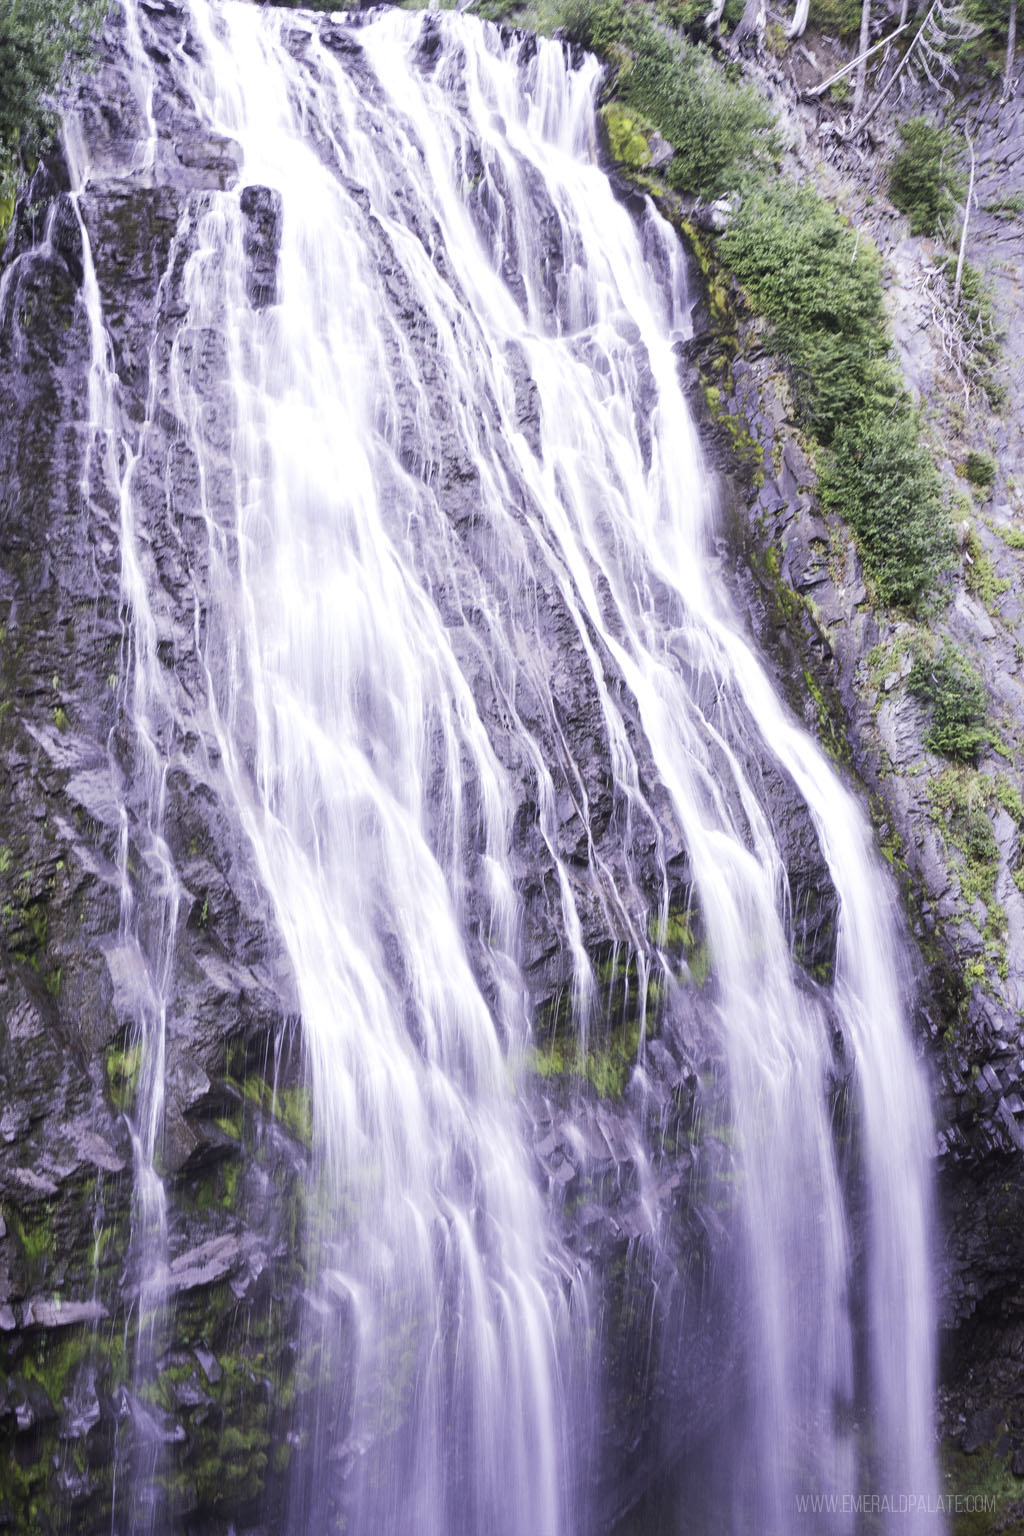
Narada Falls is another great viewpoint to stop at on your way to the Henry M. Jackson Visitor Center at Paradise. It’s about 5 minutes away from Christine Falls and only takes a short hike down to the main viewpoint. While short, it’s often wet thanks to ground seepage and will give you a bit of a workout on the way back up, but nothing too bad!
It is said the falls are named after the revered traveling musician and storyteller of Hindu tradition, Narada. In Hindu it means “uncontaminated” or “pure”, which is a fitting name given the ambiance.
Most visitors head back after the viewpoint, but the stairs continue onto the Wonderland Trail and offer a 3.5-mile out-and-back hike toward Reflection Lakes. However, on this trip, you’ll visit Reflection Lakes later so skip the hike!
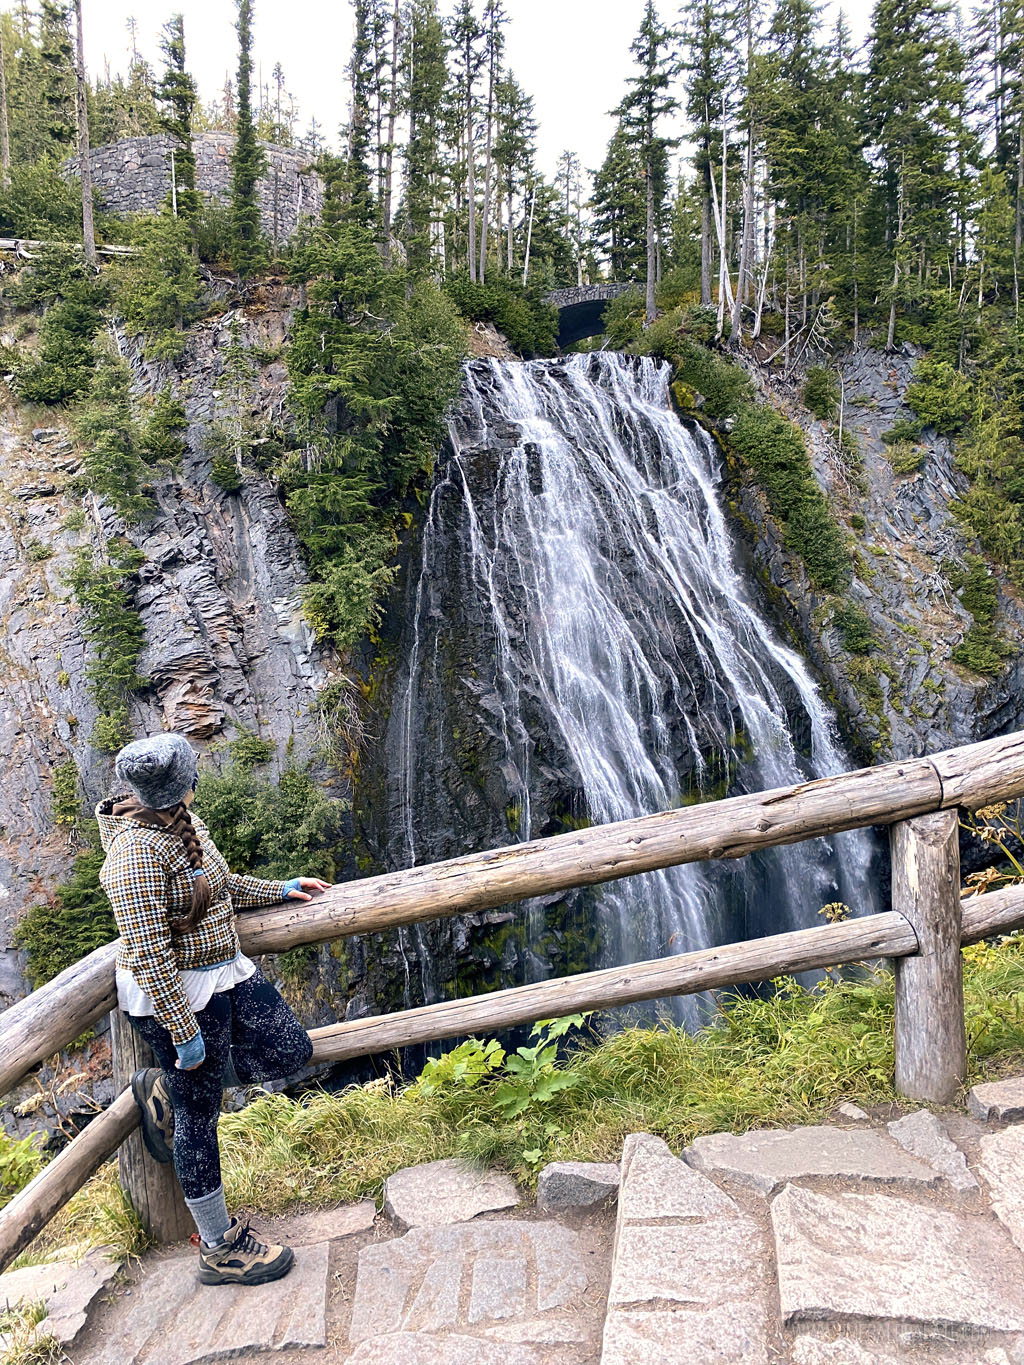
8:15 AM: Arrive at Paradise for your first hike
website | directions | ~10 trail options available (trail map)
The Henry M. Jackson Visitor Center is the main visitor center for Mount Rainier National Park. As such it can get really crowded, so that’s why you want to arrive early.
The visitor center is at 5,400 feet elevation and was opened in 2008. It’s named after Washington’s longest-serving and most influential senator. “Paradise” is said to have come from park pioneer James Longmire’s daughter-in-law, Martha, when she exclaimed, “Oh, what a paradise!” when she saw the area for the first time.
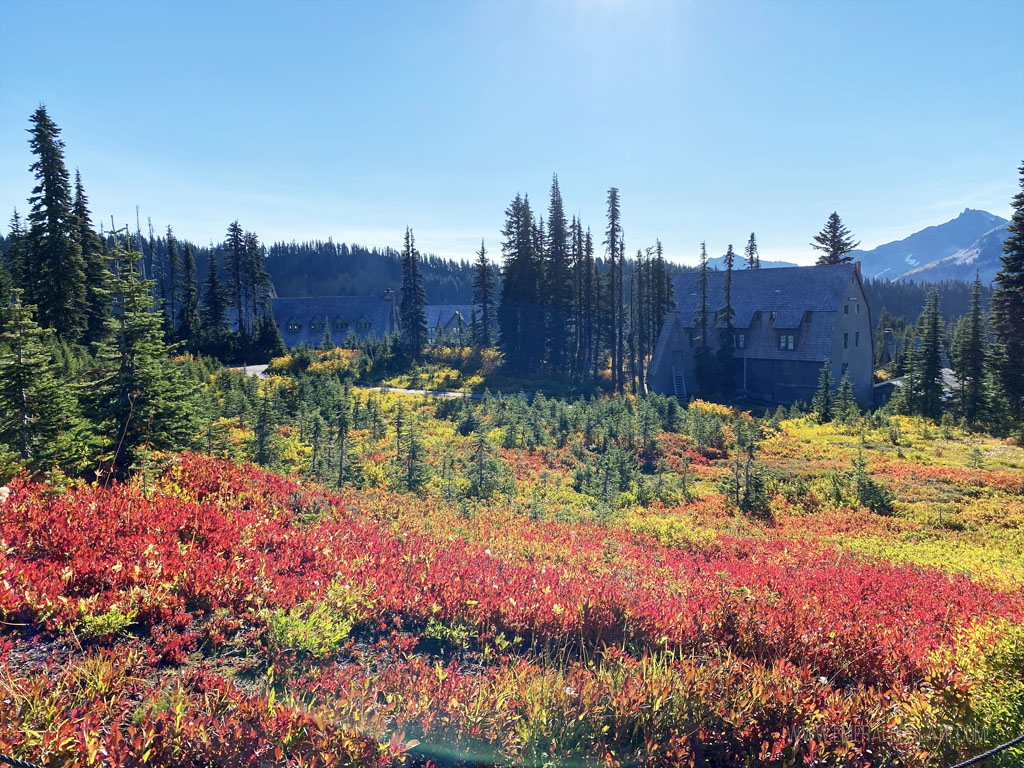
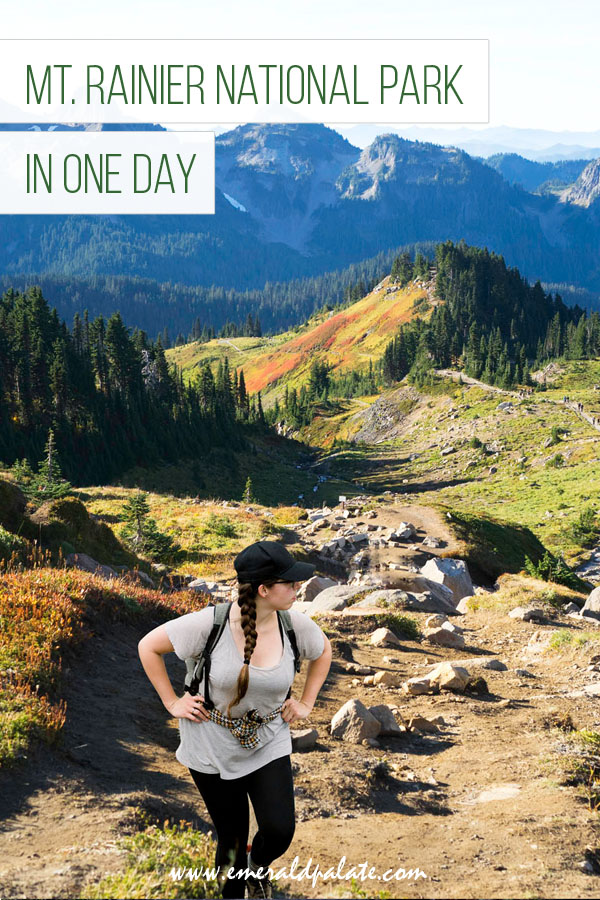
After a quick bathroom break, head up the pebbled steps carved into the hill directly in front of the parking lot. This is the main way to access the trails, and your destination is the Skyline Trail.
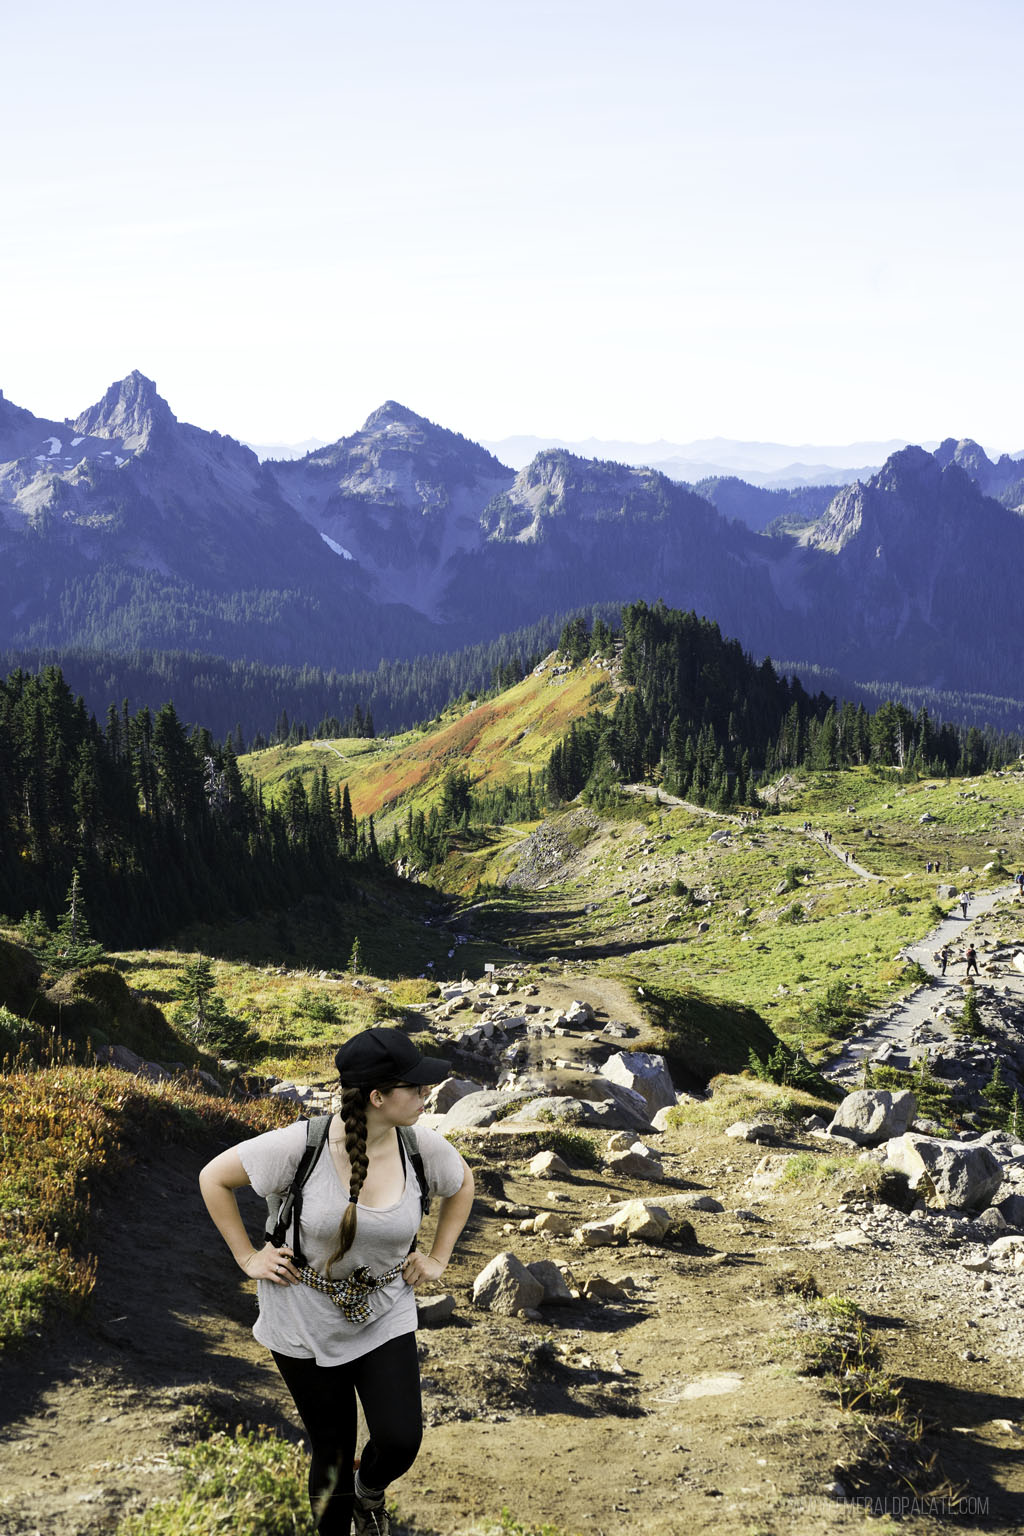
The full hike is a ~5.5 mile loop with a 1,450 elevation gain. Moderately fit hikers will take about 4 hours for the full loop without stops. While it’s beautiful to do the whole hike, I recommend only going 3.5 miles to Glacier Vista and turning back so you can cut the hike closer to 2.5 hours for this day trip itinerary.
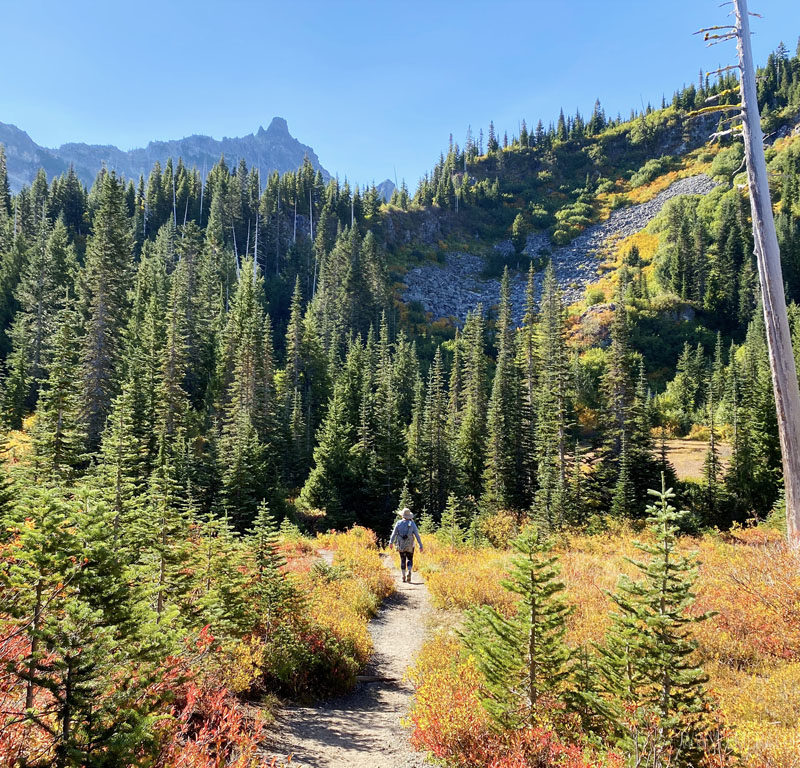
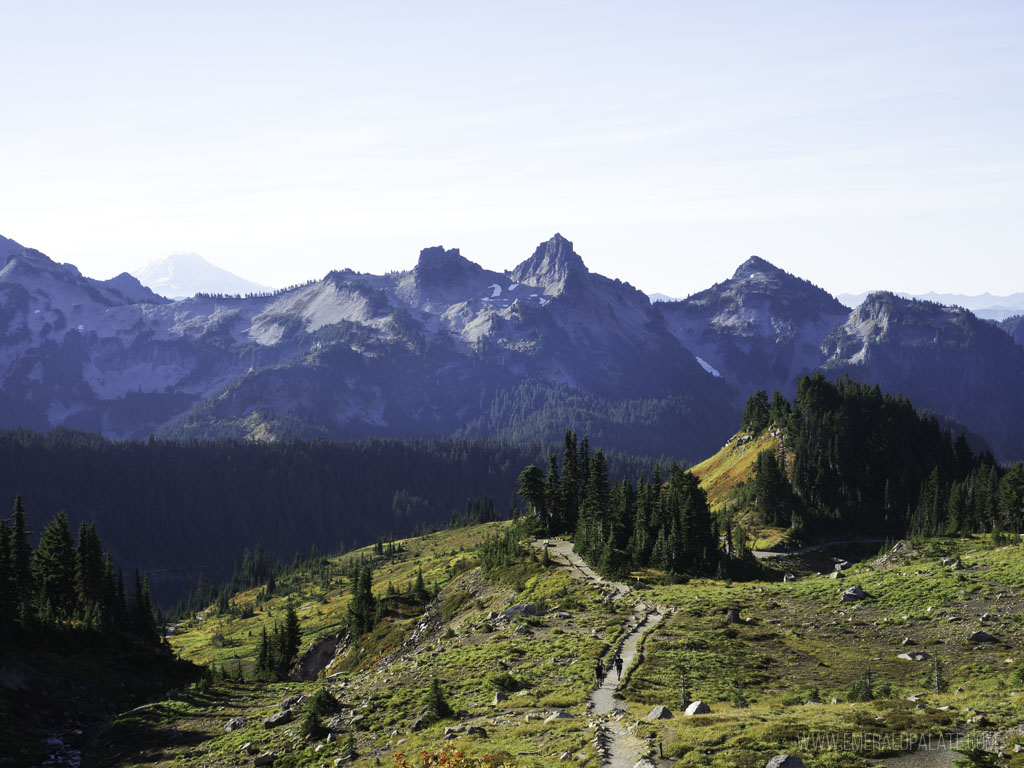
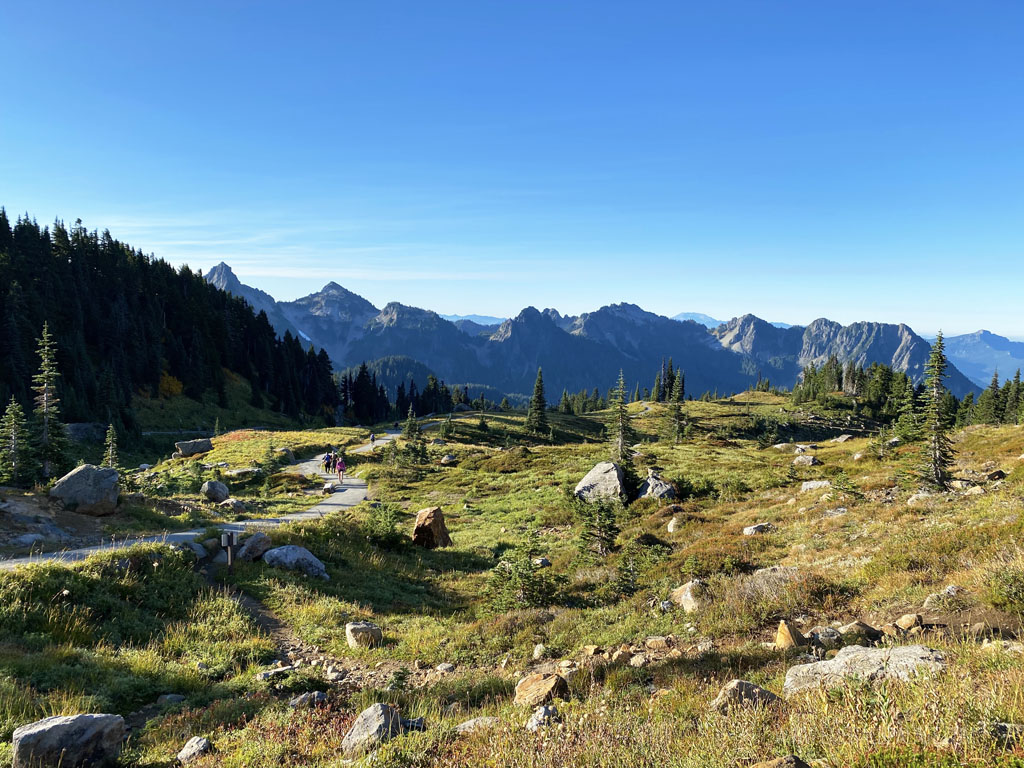
The first 0.4 miles are steep, but it flattens out as it opens up to views of expansive meadows below the looming glacial peak. In July-August you’ll see the landscape dotted with colorful wildflowers and in the fall it’ll be vibrant colors of gold and rust.

10:45 AM: Snap some photos at Reflection Lakes
website | directions | ~2.75 miles round trip | ~850-foot elevation gain
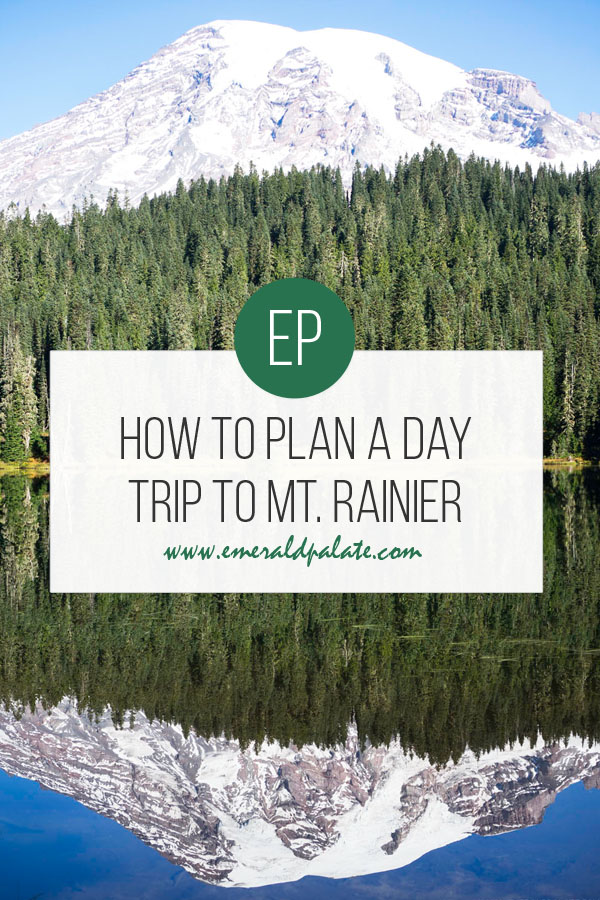
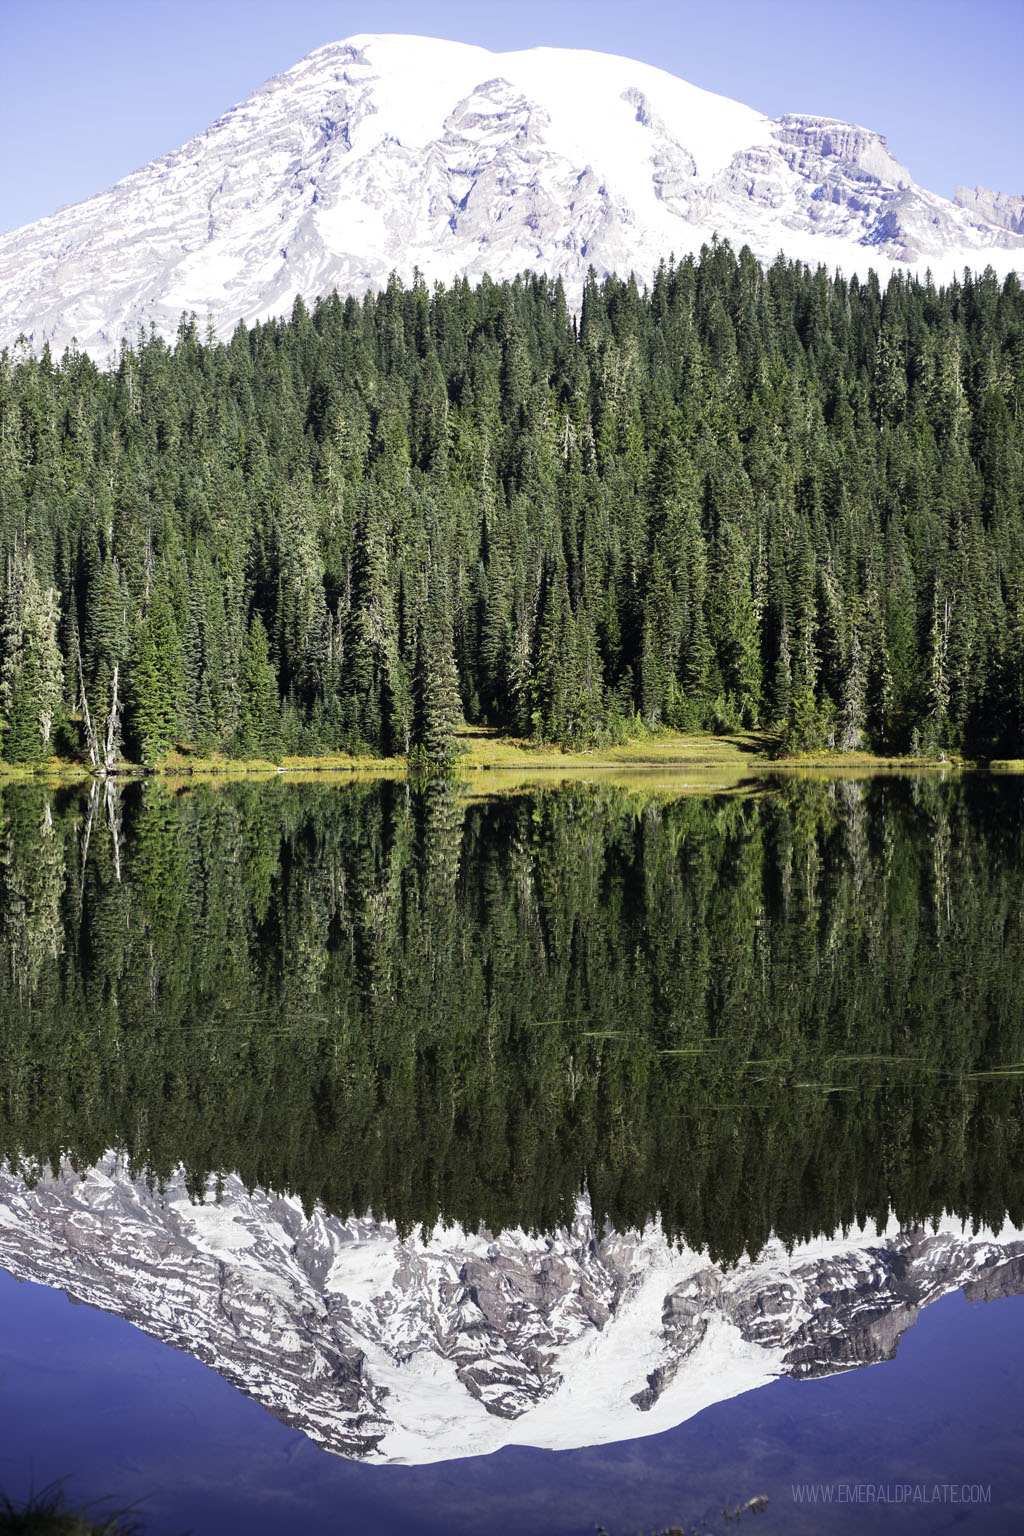
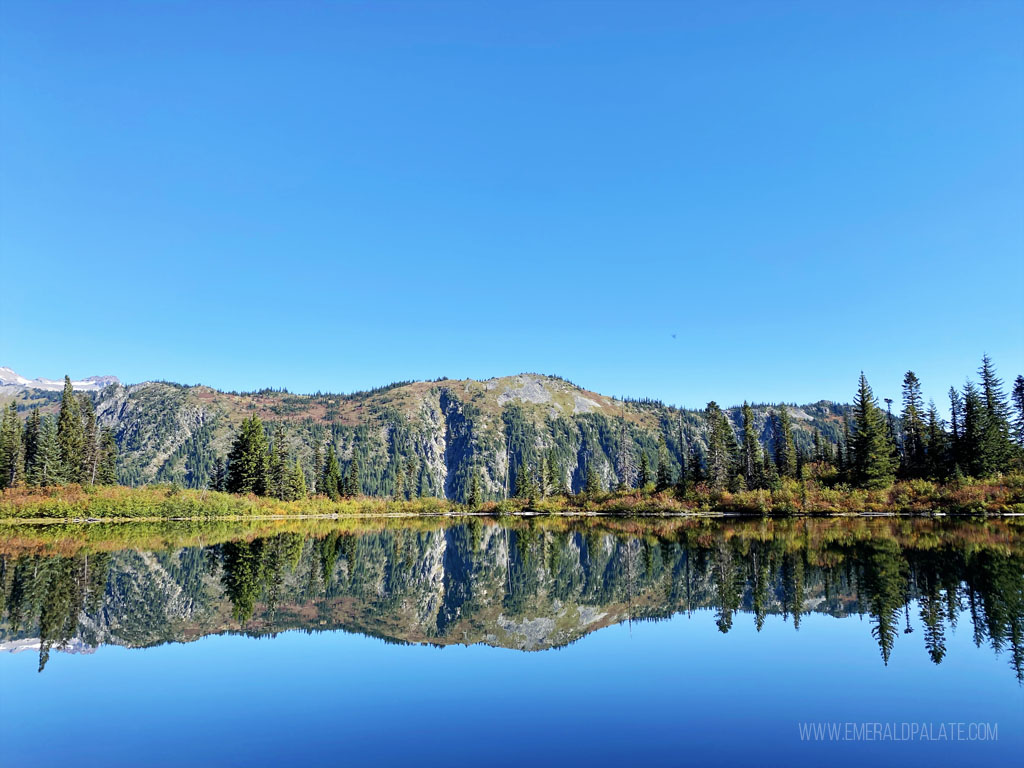
After your hike from the visitor center, drive to Reflection Lakes. This loop hike offers gorgeous views of the glacier reflected in the lake on a clear day. You can do the whole loop walk, but the scenery looks similar so I recommend just stopping for a few photos and to take in the view. Add it to your list of places to come back for snowshoeing in the winter.
11:00 AM: Hike Bench & Snow Lakes
website | directions | ~2.2 miles round trip | ~450-foot elevation gain
This is one of my favorite hikes at Mt. Rainier. It’s a 3-minute drive from Reflection Lakes and is one of the few hikes in this area of the park with less crowds.
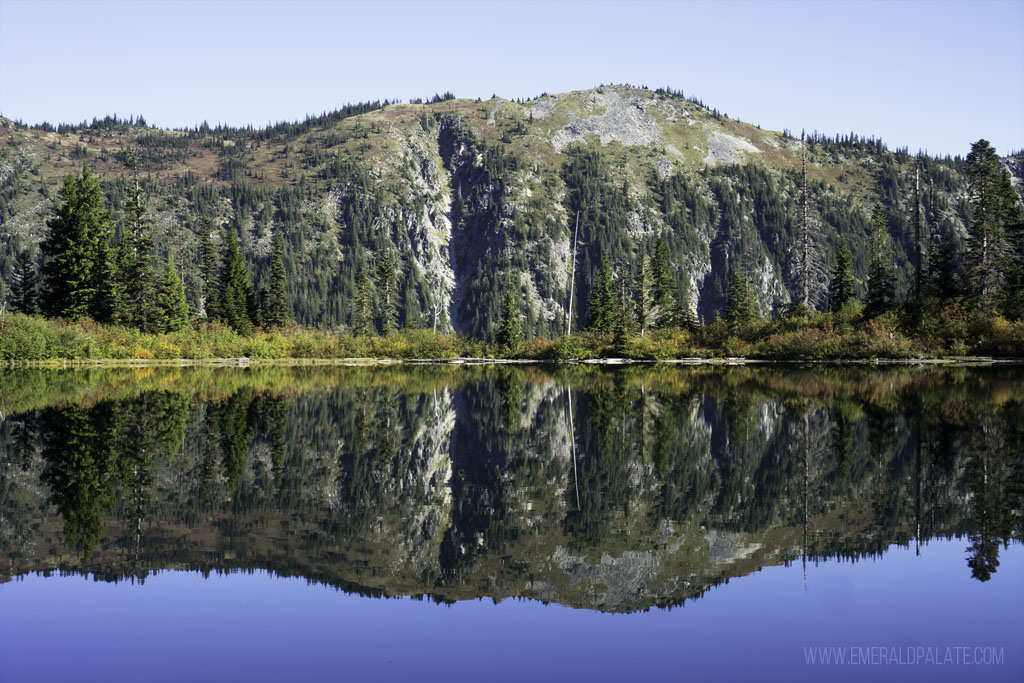
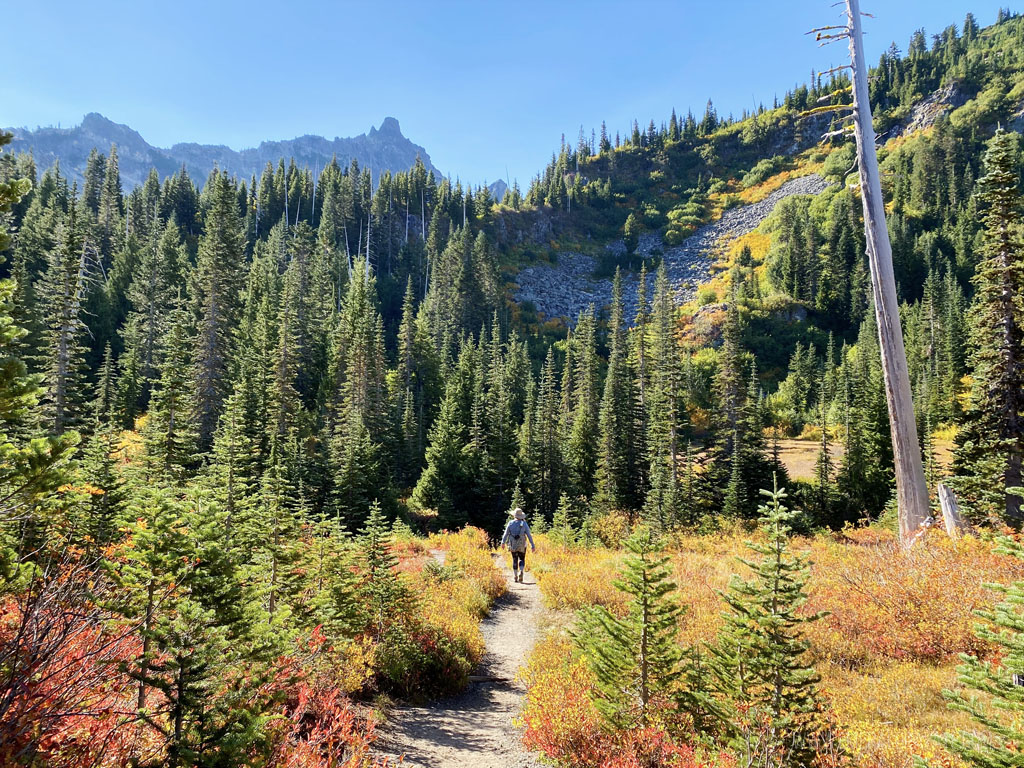
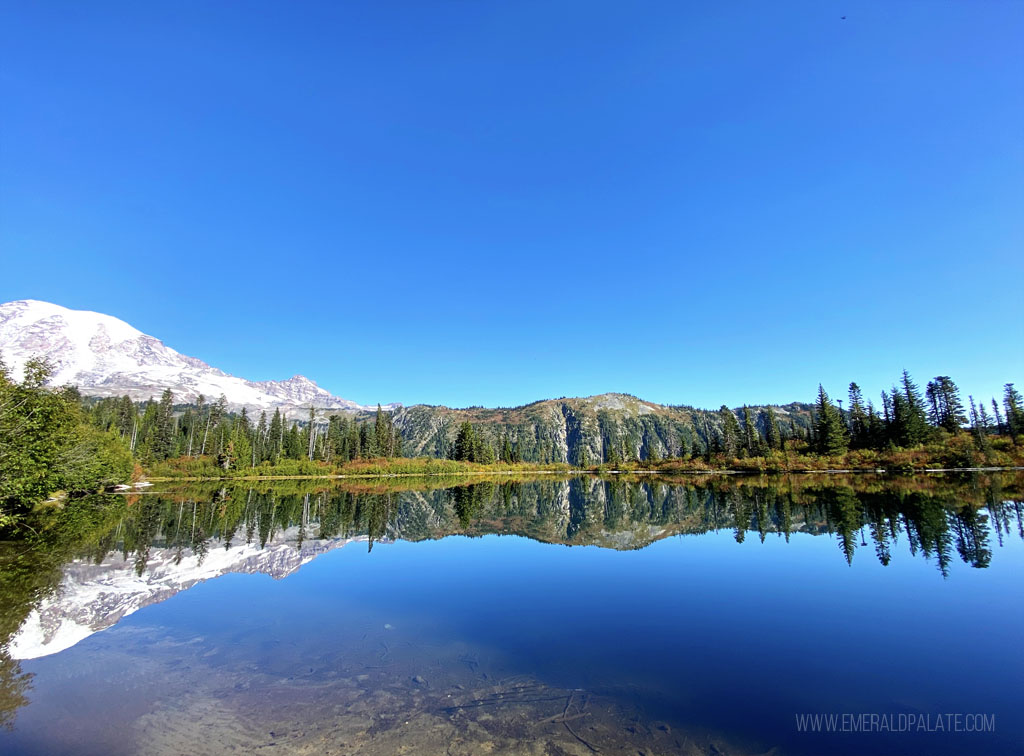
It’s a there-and-back hike from the parking lot that takes you through alpine meadows and growth forests to two lakes. You’ll come up to Bench Lake first, which requires a bit of weaving through overgrown trails to get to the shore. I don’t like the kind of hiking where things are snagging in my hair, but I didn’t find it too bad. Once there you’ll see peaks reflecting in the lake similar to Reflection Lakes.
A little ways from Bench you’ll come to Snow Lake.
Snow Lake is bluer and has a view of a massive glacial slide leading into the lake. I found it more challenging of a hike to get here, with ups and downs that require exertion both there and back, but given the beautiful scenery it’s a small price to pay for a big payoff.
The hike should take you about 2 hours without long stops. For this Mount Rainier Day trip from Seattle, I recommend eating lunch after this hike in your car because you’ll be taking a nice 50-minute drive toward the Sunrise area.
As you drive to the next stop, if you notice there aren’t a ton of cars at the Grove of the Patriarchs, you can stop for some photos. It’s a 1.5 mile flat hike through some of the oldest growth forests in the park. However, it’s a popular family destination so it’s often overrun with cars. Luckily you’ll be passing right by it and can make a call on the spot.
Grove of the Patriarchs is closed until further notice because of extensive flooding.
2:00 PM: Hike the Naches Peak Loop
website | directions | ~3.5 miles round trip | 610-foot elevation gain
Hopefully you’re feeling a bit rested after the 50-minute car ride to this trailhead. Your next hiking stop is outside the national park proper, but it offers beautiful views for little effort.
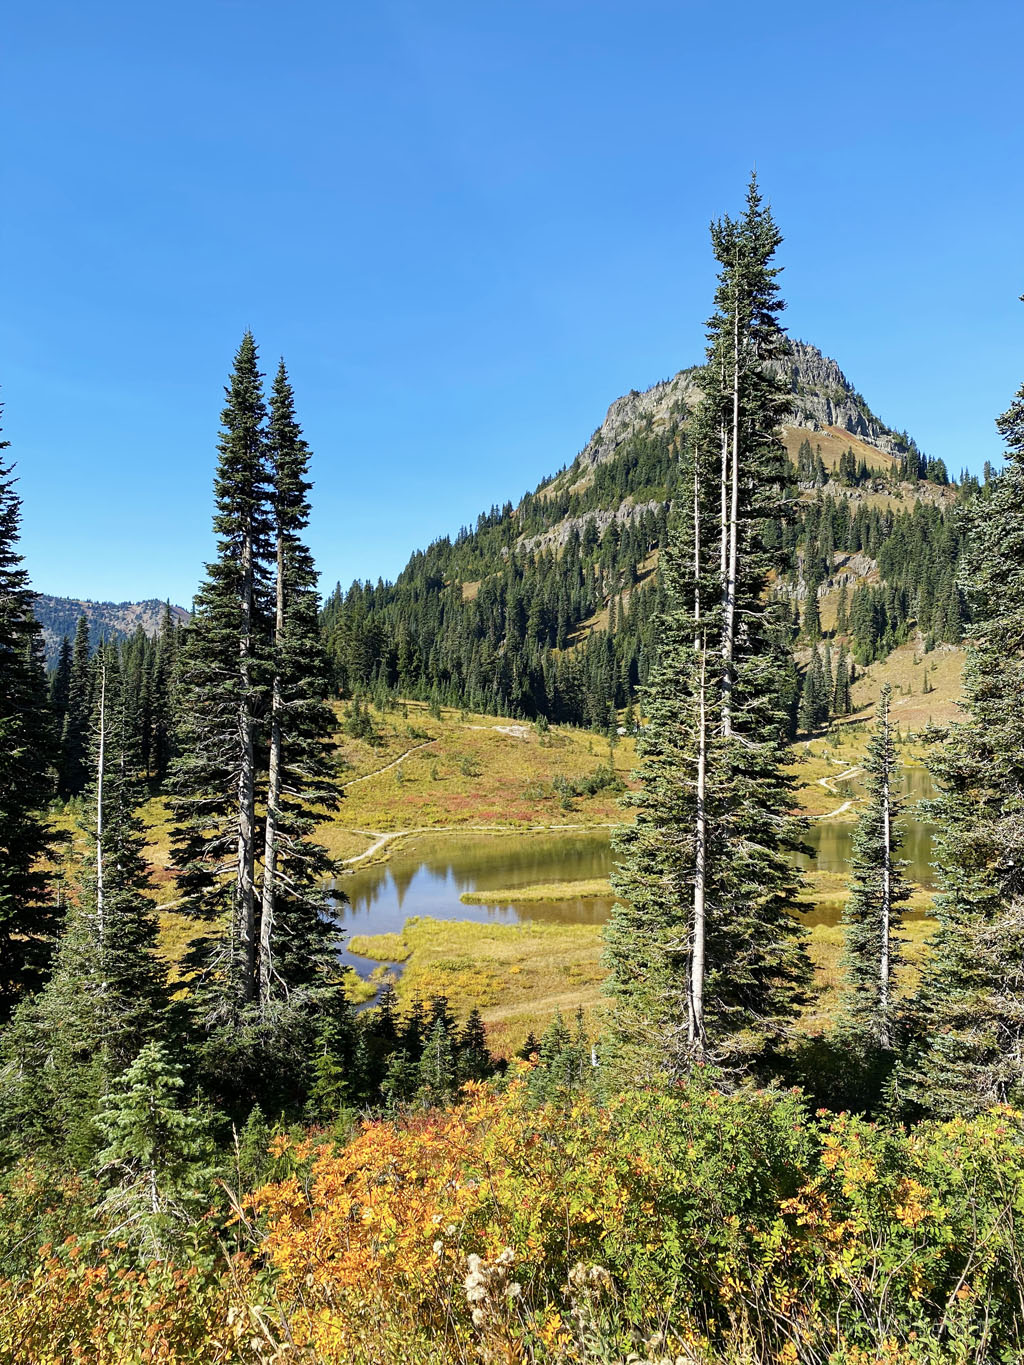
The Naches Peak Loop trailhead is right near Tipsoo Lake. You’ll see a ton of people heading toward Tipsoo to take the easy trails weaving through the meadow. However, your destination is on the opposite side of the road at Dewey Lake.
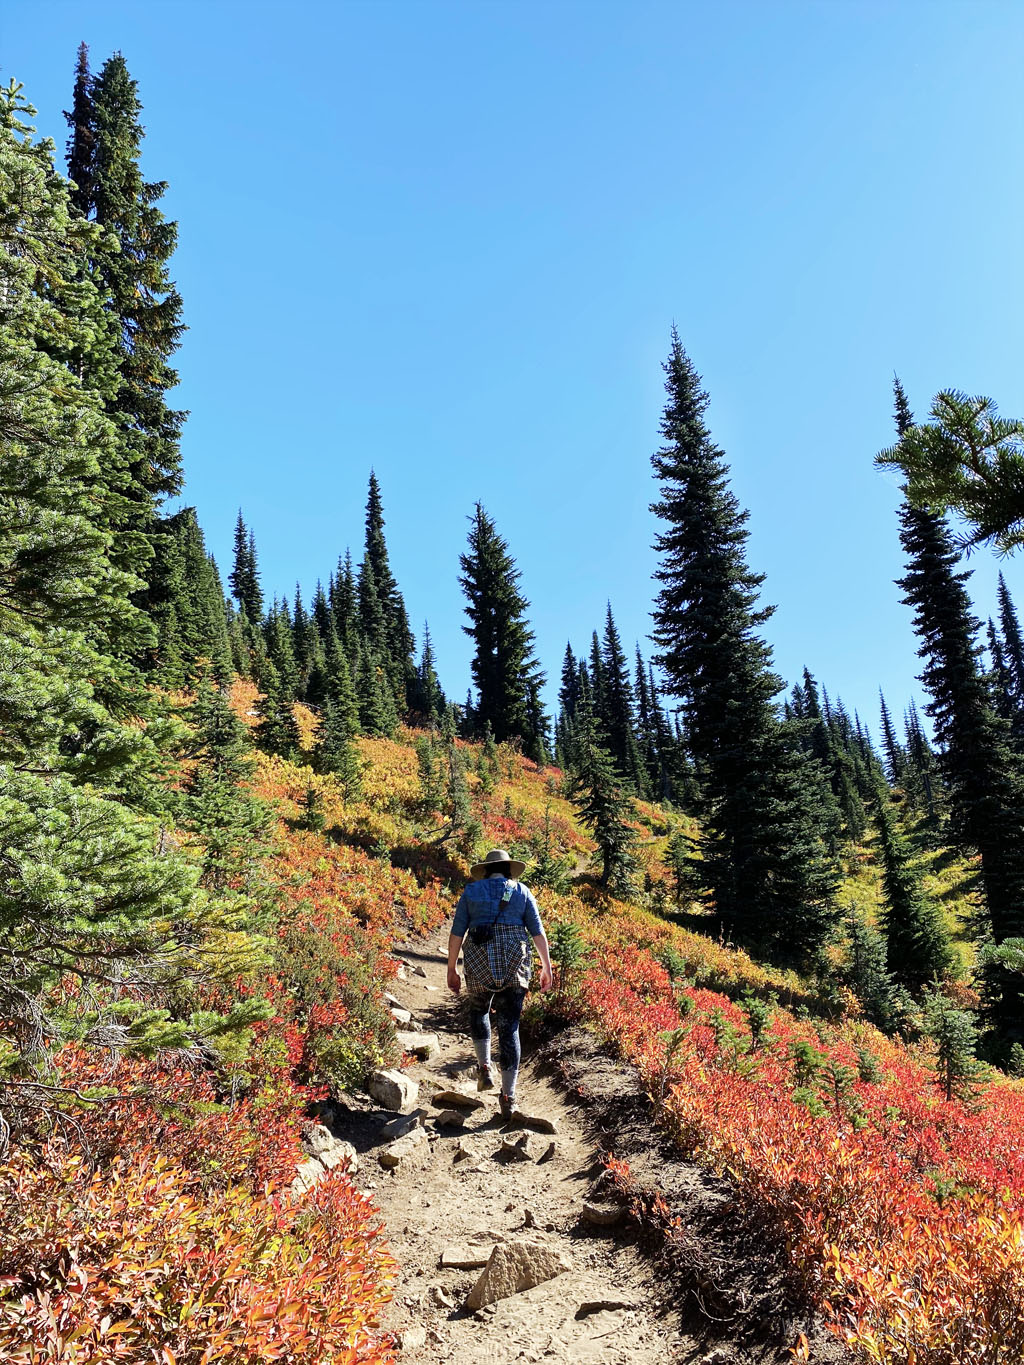
The Naches Peak Loop is part of the Pacific Crest Trail and will take you up to a viewpoint of the lake you start at 600 feet higher. I recommend doing the hike clockwise for views of Mount Rainier, but since it’s a loop either way works.
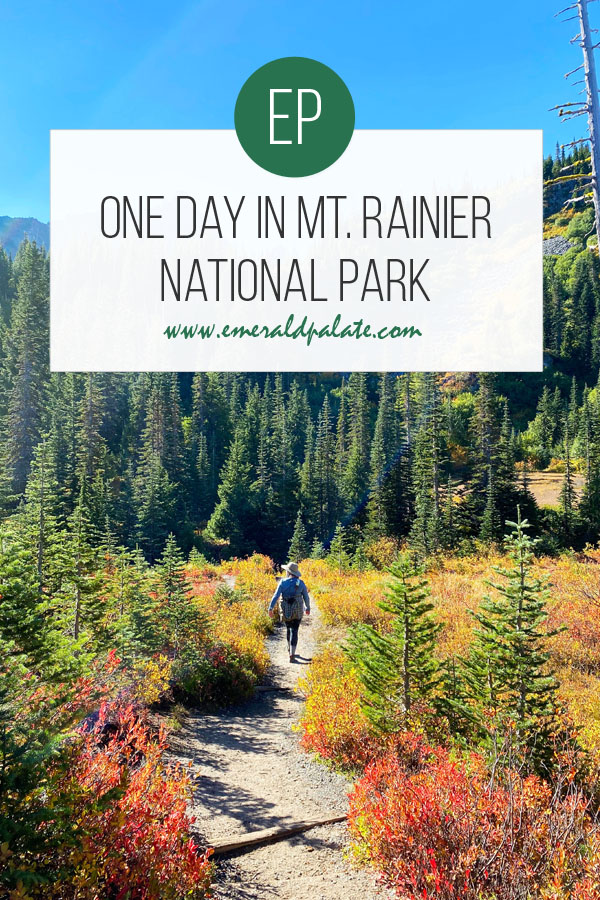
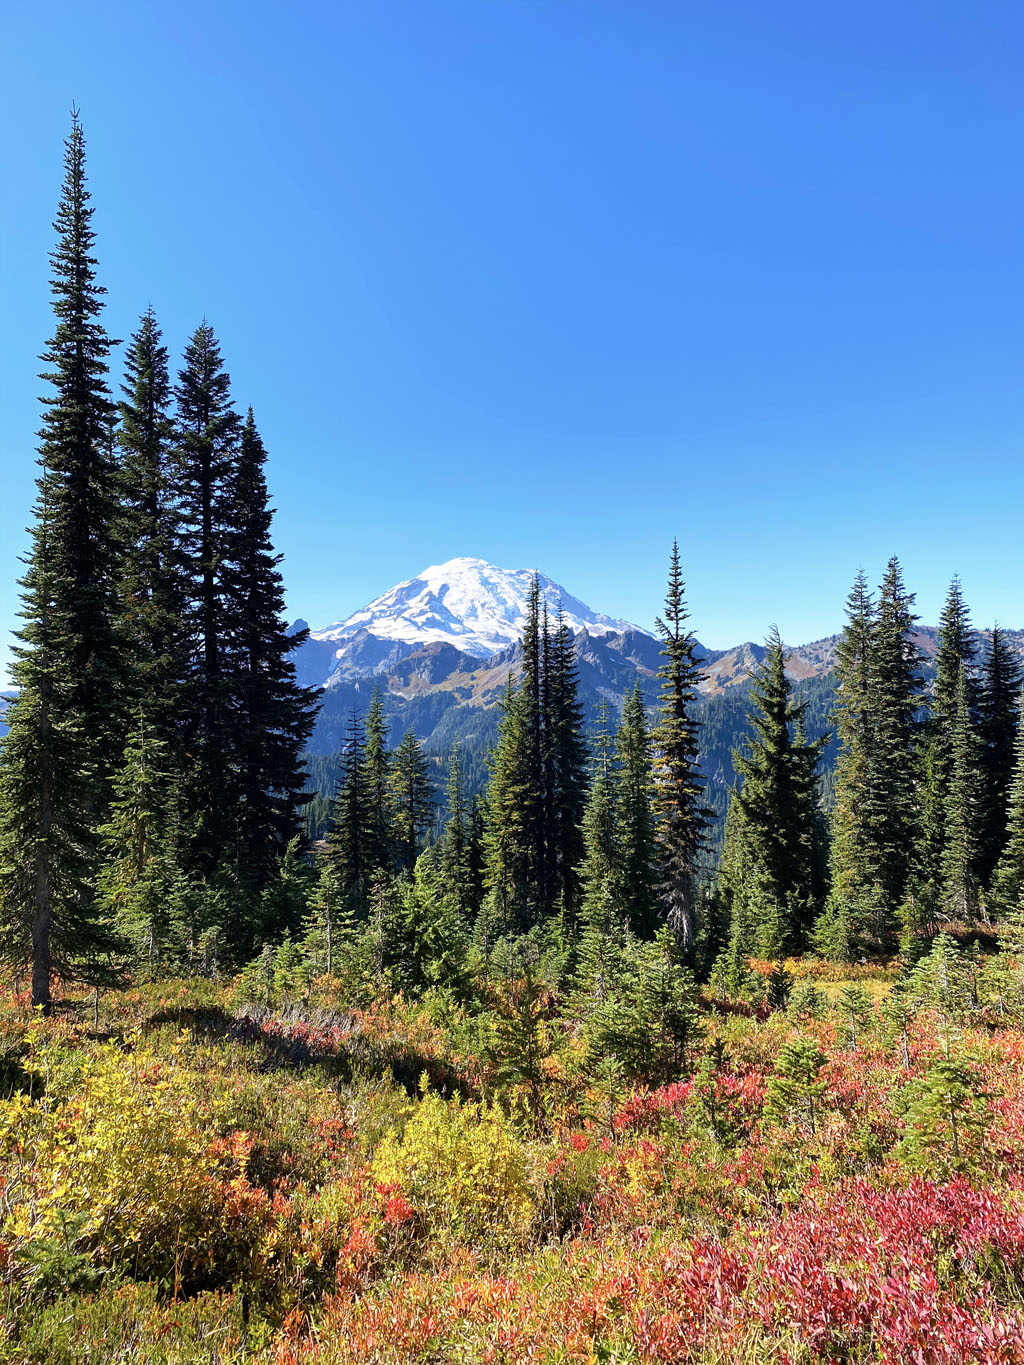
The hike is relatively flat and offers sweeping views of the glacier. There are also a ton of beautiful leaves in autumn, making it one of the best hikes for fall colors in Washington.
You should be done in about 2 hours with not too long of stops. If you’re starting to feel a bit tired, luckily you’ll have about a 45-minute rest in the car ride to Sunrise.
5:00 PM: Arrive at Sunrise
website | directions | ~10 trail options available (trail map)
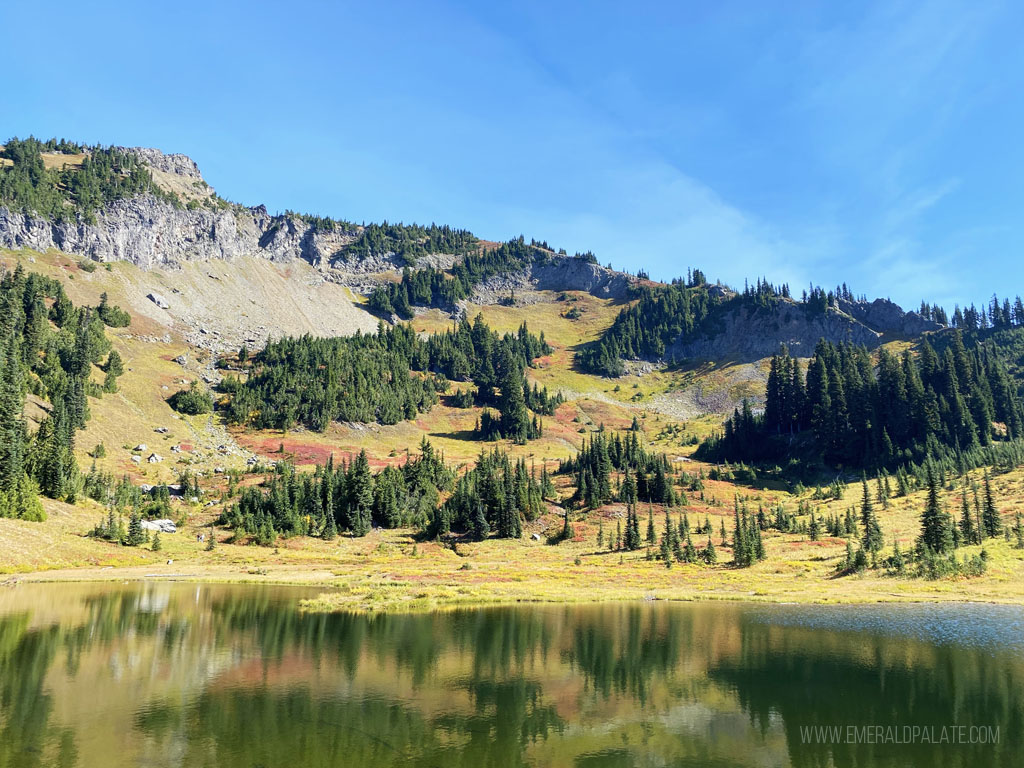
At 6,400 feet elevation, the Sunrise Visitor Center is the highest part of Mount Rainier National Park you can get to with a car. Note, the road to the visitor center closes starting in November through around June/July because of winter conditions.
This is a good spot to cut off your day trip to Mount Rainier from Seattle if you’re getting tired and need to head home. However, if you can muster the stamina, I highly encourage you make most of the full day and visit this other area of the park for a totally different landscape.
The visitor center gives you 360-degree views of meadows and glaciers at the north side of Mt. Rainier. The stairs leading up to all the hikes are a bit wider and less steep than the ones at Paradise, making it a bit more accessible to casual hikers.
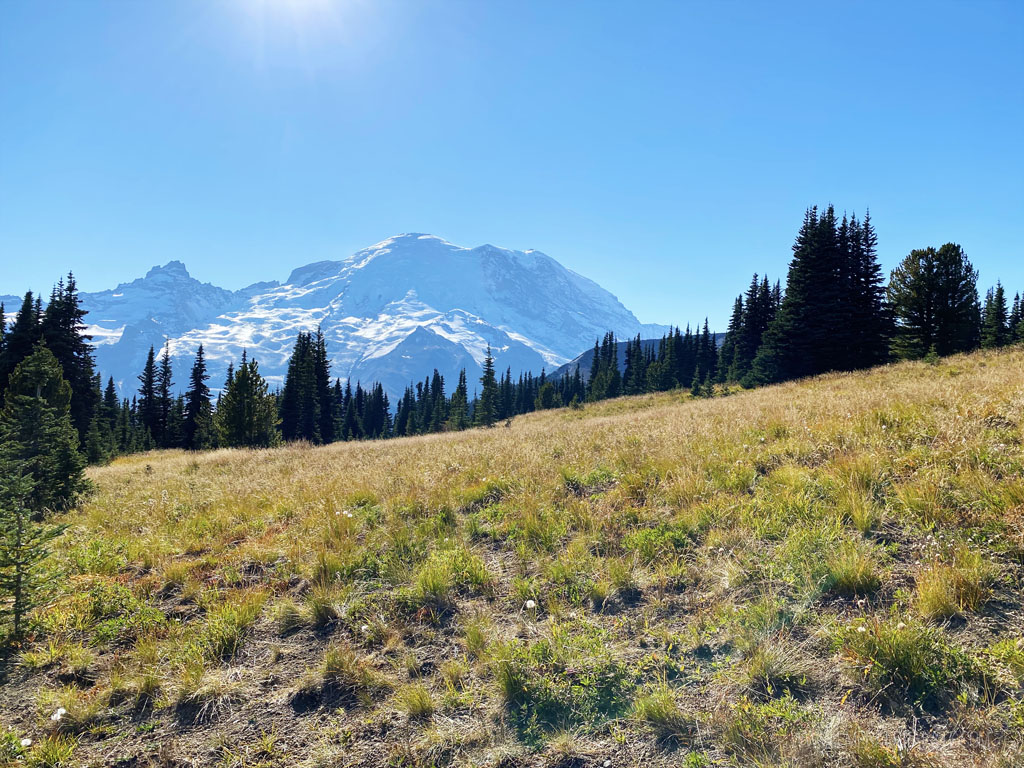
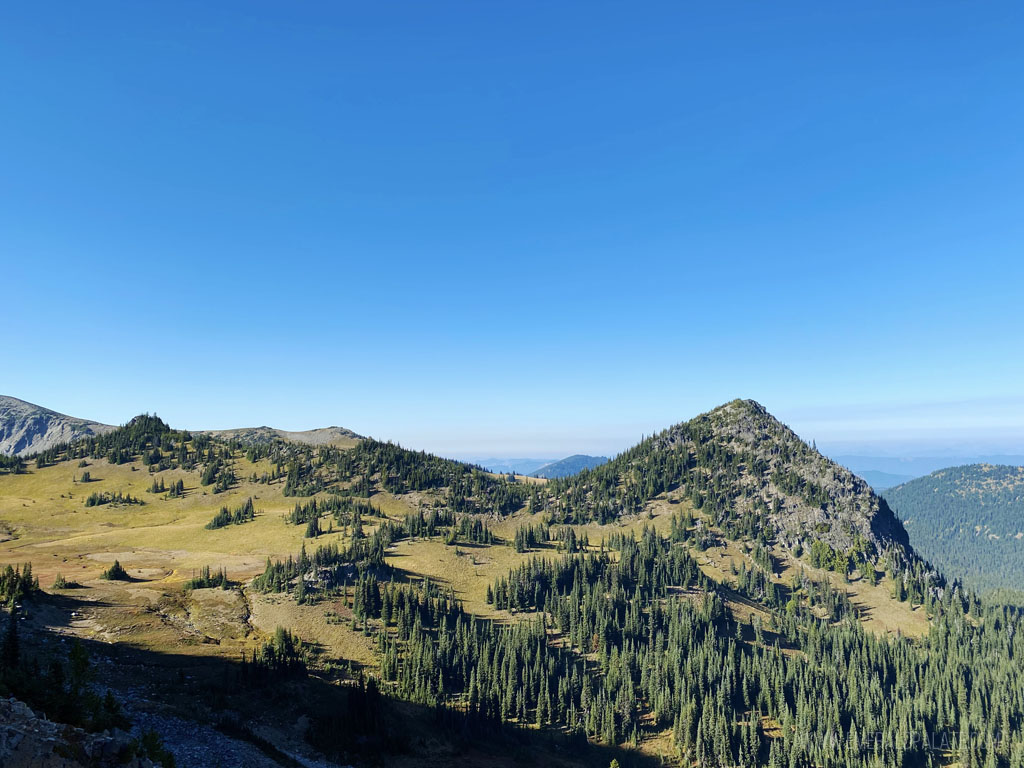
You have options for how you want to end your Mount Rainier day trip from Seattle. If you have the energy, weather, and desire for gorgeous sunset photos, do the Fremont Lookout trail. This ~5.7 mile there-and-back hike has a ~1,100-foot elevation gain. At the top you’re met with a historic lookout and uninterrupted views of layers upon layers of mountains.
Note if your goal is sunset photos, you need to time your arrival depending on the time of year. This Mt. Rainier day trip itinerary assumes an October sunset at about 6:40 pm. Also, don’t forget a headlamp or a fully charged phone so you have a flashlight on the way down. This hike will take you 3.5-4 hours without super lengthy breaks.
If hiking in the dark is not your bag, you can take the shorter Sourdough Ridge trail. This hike is 2.5 miles and has only a 400 foot elevation gain, making it an easier hike for ending your day. Plus, it has big view payoffs for less effort.
It’s the same hike you’ll be on to get to Fremont Lookout, so you can also make a last-minute decision if you go the whole way depending on how you feel.
7:00 – 9:00 PM: Head back to Seattle
Your time for heading back to Seattle depends on if you did the shorter or longer finisher to end your Mt. Rainier day trip from Seattle. If you plan to grab dinner on the way back, Enumclaw is probably the closest area with a congestion of restaurants to choose. However, if you can wait until Tacoma or Federal Way you’ll have more options.
The ride back to Seattle should take about 2.5 hours if route 410 is open. Hopefully it is, as this is a more efficient loop for your Mount Rainier day trip from Seattle than having to go back toward Paradise if 410 is closed. If you do have to backtrack through Paradise, it’ll take about 3 – 3.5 hours to get home.
Tips for visiting Mount Rainier National Park
Here are some of my best tips to make the most of your Mount Rainier day trip from Seattle.
Visit in the fall
More than one million people visit Mt. Rainier each year, with most of them coming during summer. This results in 1-2 hour waits just to get through the entrance!
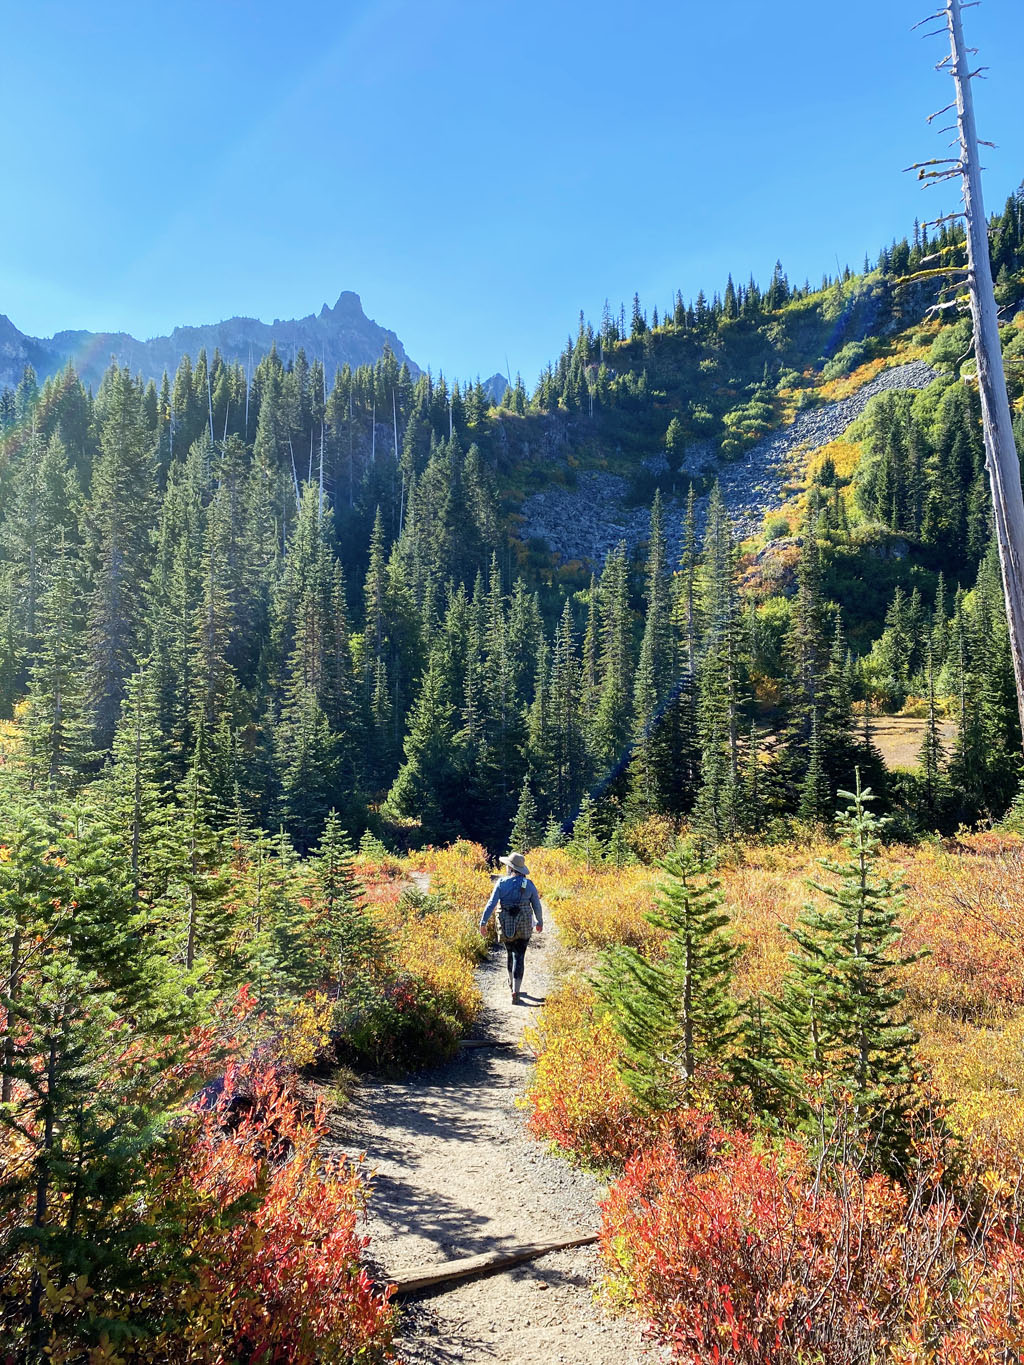
If you want to avoid crowds, visit in September or October. While you’ll miss the famous wild flowers that bloom in July and August, you’ll be greeted with less people, less heat, less bugs, and beautiful fall foliage. It’s one of my favorite things to do during fall in Seattle when I have time for a day trip!
You could also try visiting in spring, but chances are there will still be snow and the roads to Sunrise will be closed. However, it doesn’t hurt to look each year in case it was a mild snow year! If it is, Mt. Rainier is a great place to visiting when it’s spring in Seattle. If not, you can look into cross-country skiing options.
Buy the appropriate passes
Mount Rainier National Park now requires reservations from May through September to visit Paradise and Sunrise. Since these are the areas you’ll be visiting on this itinerary for your day trip to Mount Rainier from Seattle, it’s important you book a reservation in advance in addition to your park pass if you decide to visit in summer. You don’t need a timed reservation if traveling September 3 or later (you still need a park pass year round, though).
More information on making reservations can be found on the National Park Service website.
Arrive early, preferably on a weekday
Regardless of the time of year you visit Mount Rainier, you’ll want to make sure you get there extra early. I am not a morning person, but I make sure to get to the park by at least 7:30 AM no matter the time of year.
In addition to arriving early, you’ll increase your chances of having less crowds if you visit on weekdays. This is especially true if you travel in the summer.
Visit the popular spots first
This itinerary for your Mount Rainier day trip from Seattle starts at Paradise because it’s the most popular area. To give you an example of what it was like when we last went, we arrived at Christine Falls and Narada Falls before 8 AM on a Saturday in October. There wasn’t a person in sight. When we went past it again on the way home around 5 PM, the parking lots were full.
Dress appropriately
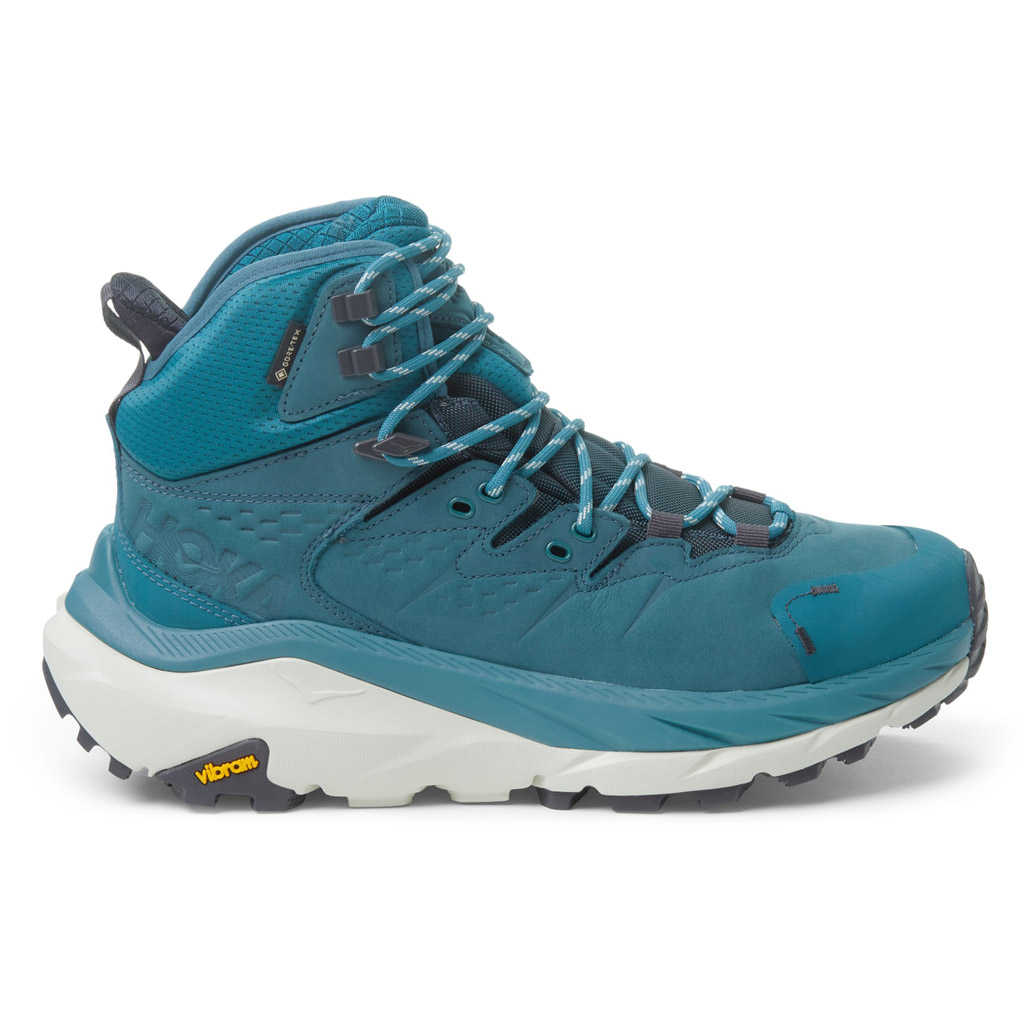
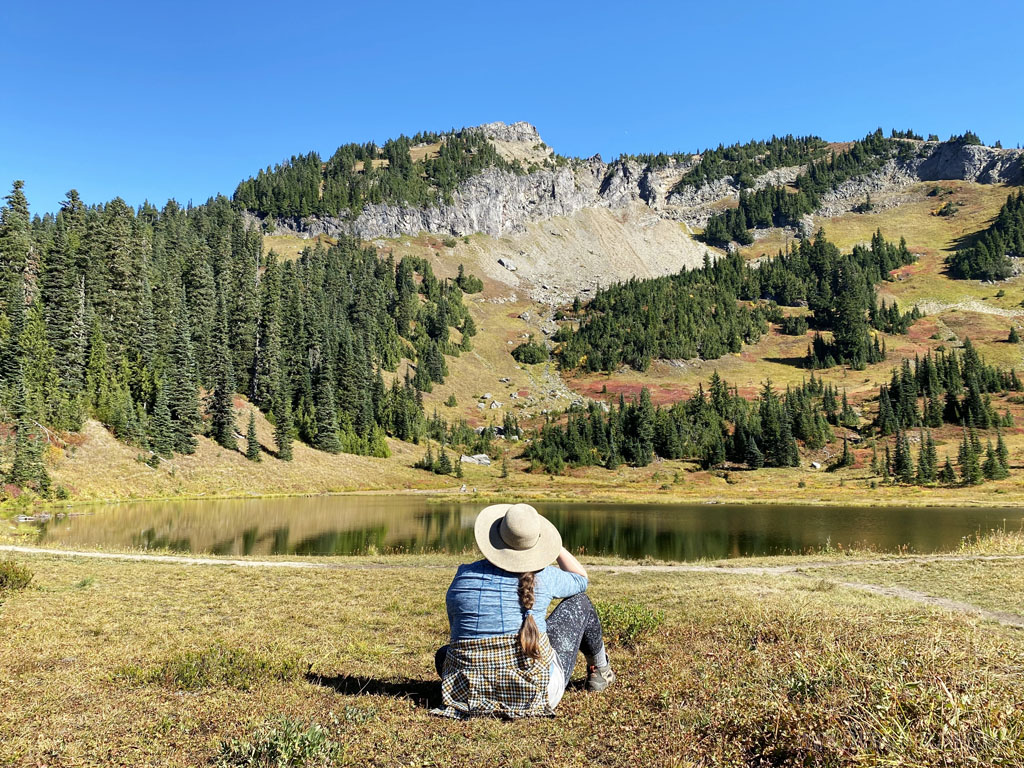
Layers are key when visiting Mount Rainier. The weather can change in an instant and you’ll be traveling up and down different elevations. You’ll also want to have sturdy, waterproof hiking boots to make sure you don’t slip.
Here’s what I typically wear when I go to Mt. Rainier:
- Good breathable undergarments, plus extra in case you need them
- Tall hiking socks, plus extra in case they get wet
- Pants tucked into my socks to protect skin from bugs and scrapes
- Short sleeve shirt under a thicker long-sleeve shirt
- Waterproof or resistant zip hoodie with zip pockets
- Hats, both a regular or wide brim hat and beanie in case it’s cold
Some of my favorite items to wear
Bring the essentials
You’ll want to make sure you bring the right supplies when hiking since it’s going to be a long day! Here’s what I always make sure to pack.
- Raincoat
- Gloves in case it gets cold
- First aid kit
- Sunscreen and bug spray
- Tons of water. I usually pack 4 reusable water bottles and keep a gallon container to refill in the car.
- Flashlight or headlamp
- Lunch and all the snacks. I usually bring multiple peanut butter & jelly sandwiches, pre-peeled hard-boiled eggs, nuts or trail mix, carrots, cheese, apples and tangerines, and gold fish or teddy grahams.
- Lightweight hiking backpack with exterior water bottle pockets
- Camera and car phone charger
- Toilet paper and plastic bags for emergencies
- Hand sanitizer
Some of my favorite items to bring
Keep your park entry receipt
You’ll leave Mt. Rainier National Park briefly on your drive between Paradise and Sunrise. So keep your receipt to show at the Sunrise entrance so you don’t have to pay a second fee. You can see the entrance fees here.
Use a hike duration calculator
All of the hike time estimates I provided were based off using a hiking calculator like this one that helps you determine how long a trail will take you depending on the distance, elevation, your physical fitness, and weight pack.
In general, you can get a sense of how difficult a hike will be by dividing the one-way hike distance by the elevation gain of the hike. If the result is more than 500 feet in elevation gain per mile, that will probably be a more difficult hike.
For example, say you want to do a 10-mile round trip hike that gains 1,500 feet in elevation. The one-way distance would be 10 divided by 2, so 5 miles. Divide 1,500 feet elevation by 5 miles and you get 300 feet. Since this is less than 500 feet elevation per mile, this probably isn’t that difficult of a hike.
Now, if that elevation gain for the hike changed to 3,500 feet, that would be 3,500 feet elevation divided by 5 miles. That’s 700 feet elevation in a mile. That hike will likely kick your ass.
This calculation works best for there-and-back hikes versus loops, but hopefully this will give you a rough estimate of what to expect. If math isn’t really your favorite, stick to the calculator!
Download offline maps
Cell service is extremely spotty in the park and, if you have Verizon like me, sometimes nonexistent. So make sure you have offline Google Maps before you leave. You may also want to load this itinerary into Google Maps and take a screenshot and/or print it out so you can follow the route if you lose access to maps.
Consider a tour
If you’d prefer a tour guide on your day tour of Mt. Rainier National Park, consider taking a small group tour that also takes care of the driving from Seattle. Here are some to consider:
- Best of Mt. Rainier All-Inclusive Luxury Tour
- Mt. Rainier One-Day Tour with Lunch
- Hike Mt. Rainier and Taste Yakima Valley Wine
The national park sometimes has a ranger-led Rainier tours depending on the time of year and which visitor center you’re at. For example, they do snowshoe tours in the winter or guided hikes, stories, and kids programs in the summer.
Consider skipping the visitors centers
Both Paradise and Sunrise are going to have more crowds because that’s where all the tourists go. They are the starting point to some awesome hikes worth doing, particularly if you haven’t been to the national park before. But if you want to truly escape the crowds, explore the hikes at the less popular entrances.
Leave it as you left it
Mt. Rainier is a national park, designated to protect the wildlife and flora in the area. Follow the Leave No Trace principles to do your part in protecting the land. If you remember nothing else, don’t leave any trash, even if you think it’s compostable, and don’t go off the trails.
Map of Mount Rainier National Park
Below is a map of all the hikes and viewpoints I’ve collected over the years that are worth a visit during your next Mt. Rainier visit. It includes both my top recommended stops on this itinerary, plus more to explore.
More Mount Rainier resources
Here are more ideas or making the most of your Mount Rainier day trip from Seattle.
- Best Mount Rainier Hikes
- Get a Custom Trip Planned to Mt. Rainier
- Best Food in Tacoma (for dinner on the way back)
